Baby steps… Although they are adorable, shoes aren’t necessary for your baby unless he or she is actually walking. Try this pair on the front of a homemade baby shower card that will be treasured by the receiver for years.
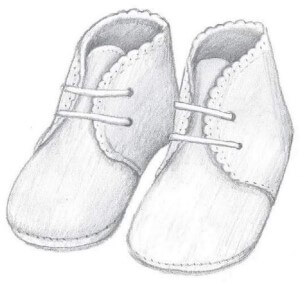

Baby steps… Although they are adorable, shoes aren’t necessary for your baby unless he or she is actually walking. Try this pair on the front of a homemade baby shower card that will be treasured by the receiver for years.

Start with a downwardfacing arrow. The center of the arrow should have an upside down “J” shape for the handle. The tip of the arrow can have a tiny rectangle for the umbrella point.
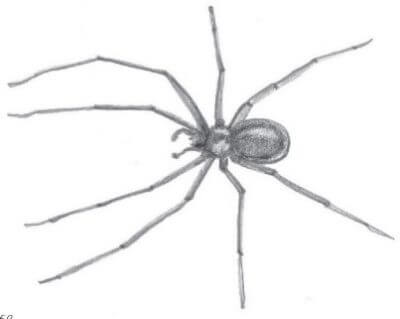
There are over 40,000 species of spiders and they all spin silk. One spider can produce up to seven different types, each used for a different purpose. Add some interest to your spider drawing and include a web with a captured prey!
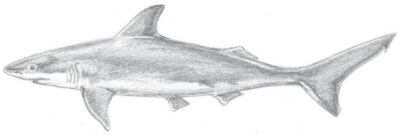
Sharks have a fearsome reputation because of the publicity of attacks of humans. On the rare occasion when a shark attack does occur, it is usually a case of mistaken identity. No one will mistake your drawing for anything less than formidable when you follow the steps below.

Start with a small circle with a long, diagonal line coming from it. Add a smaller circle slightly above the end of this line but not attached. Take 20-30 seconds for this.

Start with an oval shape as a guide (draw lightly, as this will eventually be erased). Draw circles on top of the oval, overlapping on the sides as shown.

Start with a large round shape with a slightly smaller round shape below it. Overlap as shown. Draw an oval nose inside the larger round shape.

Start with a rounded shape for the globe and two lines coming from the base of the shape for the machine.

Start with a large circle for the top and an ellipse for the bottom. Connect with curves.

Start with two lines that form an “X” as shown. Note that the left side of the “X” is wider than the right side. This “X” will serve as a guideline for the blades. Add two circle shapes after the right side of the “X”, noting their placement and distance from one another.

Start with a circle shape for the head. Add curved lines for legs coming from it. Make sure they overlap in some areas.

Start with a circle connected to a diagonal line for the handle guideline. The left side of the handle will have a short diagonal line with 4 short lines drawn perpendicular to it.

Draw a large circular shape for the body. Draw 4 stick legs and a line for a curving neck to start. Add a small circle at the end of the neck for the head.

Draw the top of a triangle but don’t close the bottom. The left line should come down further that the right. Draw another line parallel to the left line.

Draw an ellipse for the base of the pot. Draw another for the top. Add a rim to the top by following the contour as shown.