Start with a large circle for the top and an ellipse for the bottom. Connect with curves.


Start with a large circle for the top and an ellipse for the bottom. Connect with curves.

Start with two lines that form an “X” as shown. Note that the left side of the “X” is wider than the right side. This “X” will serve as a guideline for the blades. Add two circle shapes after the right side of the “X”, noting their placement and distance from one another.

Start with a circle shape for the head. Add curved lines for legs coming from it. Make sure they overlap in some areas.

Start with a circle connected to a diagonal line for the handle guideline. The left side of the handle will have a short diagonal line with 4 short lines drawn perpendicular to it.

Draw a large circular shape for the body. Draw 4 stick legs and a line for a curving neck to start. Add a small circle at the end of the neck for the head.

Draw the top of a triangle but don’t close the bottom. The left line should come down further that the right. Draw another line parallel to the left line.

Draw an ellipse for the base of the pot. Draw another for the top. Add a rim to the top by following the contour as shown.
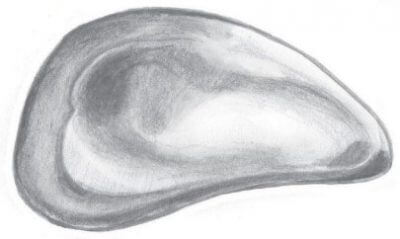
Draw a circle shape with a curve coming out of the top. Close the curve with a straight line. This second shape should look like a modified triangle

Start with a small oval shape placed slightly off-center toward the top of a larger oval shape as shown.

Start with two oval shapes that will be the front and back of the box. Connect with parallel lines as shown that cut through each oval.