wood branch with the flowers. Remember the circle exercise from a previous chapter? Use that here to place the blooms where they go.
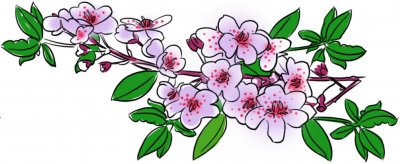

wood branch with the flowers. Remember the circle exercise from a previous chapter? Use that here to place the blooms where they go.
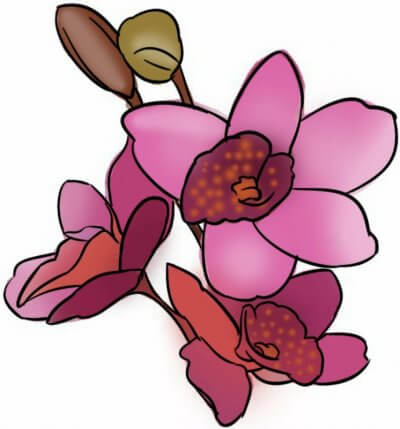
On the left are Irises in a cluster. Often times, to make the most of a picture, you have to arrange flowers in clusters or bouquets.
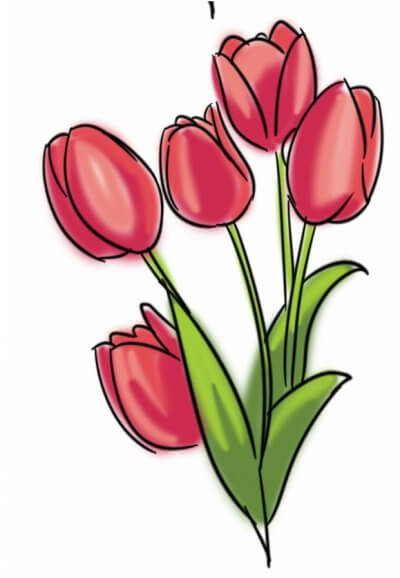
What do you see when you look at the finished picture? I see tear shapes, ellipses, curves, and “U” shapes. I also see dark and light pinks as well as grass and light green.
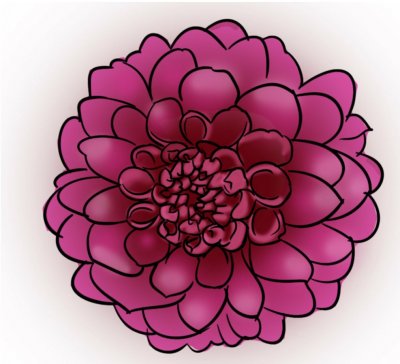
This flower does have a lot of detail to it, but It’s not that hard to do. You will need a couple of different colors for shading, but we’ll get to that at the end.
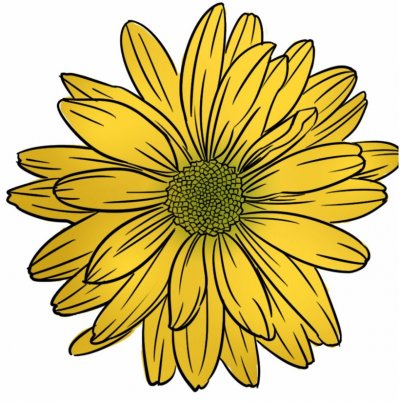
As we see here, not all daisies are white. This daisy is yellow and sports a lot of petals, but don’t worry, it’s not as hard as you may be thinking to draw.
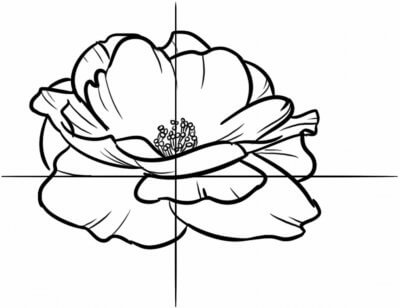
1-It starts with a simple cross shape that is disproportionate.

Start with a small circle with a long, diagonal line coming from it. Add a smaller circle slightly above the end of this line but not attached. Take 20-30 seconds for this.

Start with an oval shape as a guide (draw lightly, as this will eventually be erased). Draw circles on top of the oval, overlapping on the sides as shown.

Start with a large round shape with a slightly smaller round shape below it. Overlap as shown. Draw an oval nose inside the larger round shape.

Start with a rounded shape for the globe and two lines coming from the base of the shape for the machine.