
MATERIALS
• Art Spectrum Colourfix Paper, Terra Cotta
• Pastels: Mainly Art spectrum, Rembrandt, and 1 or 2 hard, Faber-Castell
• Colours: Cadmium Deep Red; Flinders Blue Violet, (dark and mid tone); Grass Green; Australian Leaf Green; Spectrum Yellow; Bright Yellow; Orange; Ultramarine; Sky blue; Terra Cotta, and various tones of each.
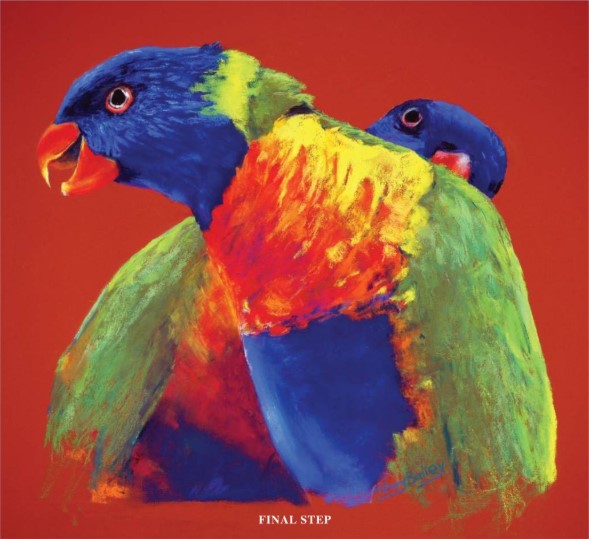
I love to use primary colours, and these Rainbow Lorikeets certainly
gave me the opportunity to do that. I work on Colourfix paper because of its holding ability. I like to push the pastel hard and deep into the paper to get a finished result in one stroke, thus using the brilliant, instantaneous colour that pastels can give. Obviously this cannot be done with every stroke, as mixing on the paper will always be required. However in this painting it is easy to see many of the first strokes made are still evident in the final stage. The “terra cotta” colour of the paper used here in this is one of my favourites. It makes a good under-paint, or can stand alone as a background.
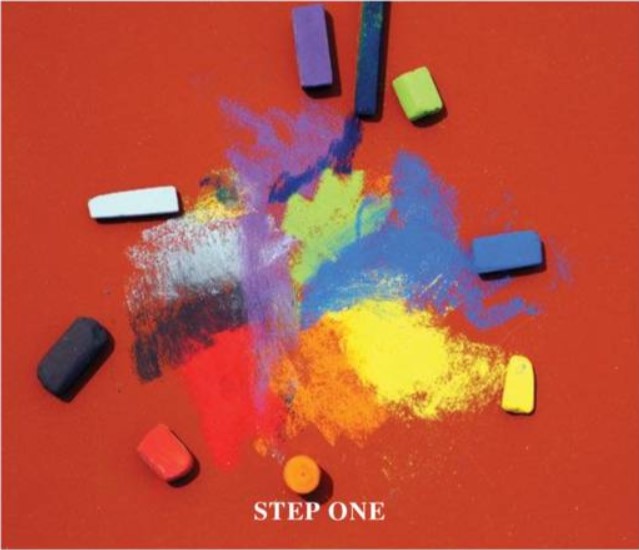
STEP ONE
My palette. I select some colours before I start, and add to them as required.
STEP TWO
The “Drawing” was done with pastel pencil. A neutral colour, very lightly applied, and later dusted off, so as to be just visible.

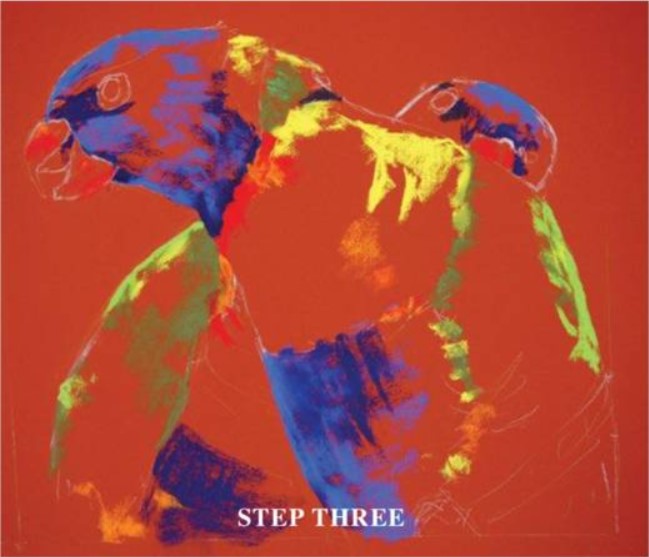
STEP THREE
Fun time. I am searching for basic colour and tone, but these guys are so bright the colours pick themselves. I use small pieces of pastels flat on their sides. This spreads the load on the pastel and leaves a lovely variation of tone with each stroke.
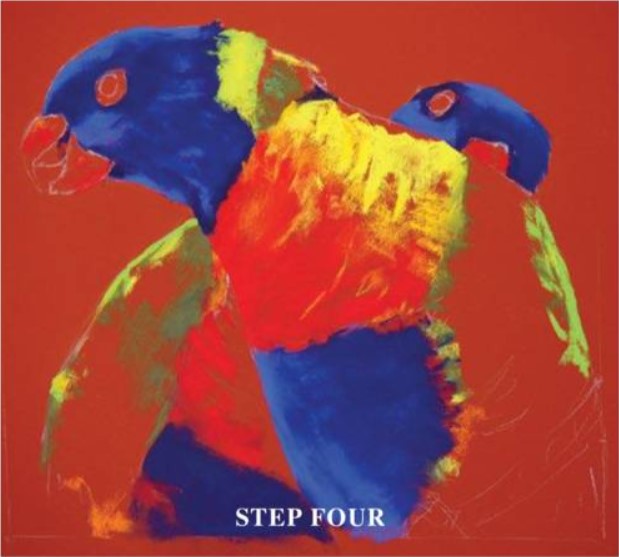
STEP FOUR
Here, I’m still searching for colour and tone, and the under painting starts to build nicely. I have pushed the pastel hard into the paper to produce a strong base to apply other colour over if required. Being aware of the oranges (red/yellow) and greens (yellow and blue), that I will be looking for later.
STEP FIVE
As I progress I am conscious of the contours to be achieved so as not to leave the painting looking flat. The light tones on the chest and back of the front bird seem to have done this nicely.

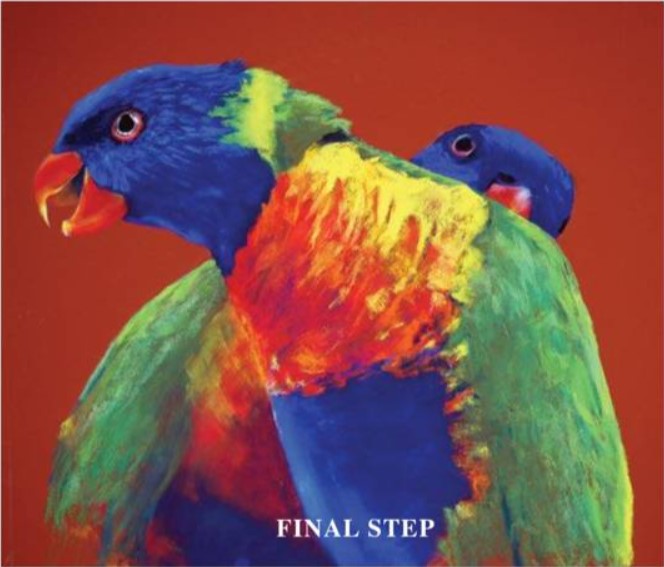
FINAL STEP
Time to start placing the “jewellery” ie the sharp details. These details can be critical to a painting as they show the personality and mood of the subject. I think these guys are looking quite relaxed and happy.
ARTIST’S HINTS AND TIPS
• Use a separate container to store the pastels you are using on the current painting. This saves time searching for the colour you used previously. I tend to preselect only a few colours for my work as I am never sure of where the painting will take me.
• Keep the pastels clean. Have a rag handy to wipe each pastel when putting it back into the “selection” container. This also gives you a few seconds’ break in which to admire you work, and makes it easier to see the right colour in the container.
• If you need a sharp edge for a fine line, try scoring around the pastel with your finger/thumb nail before breaking the stick. This will give a clean, controlled sharp break.
• You should always have your work upright or even leaning a little towards you at the top. This will allow the pastel dust to fall from the paper and not lay on your precious work. A folded news paper tray is all I use to catch the falling dust. Do not blow off the dust. It will only float in the air and generally make the whole area uncomfortable to work in.
• Finishing: My preferred procedure is simple. Taping glassine paper or similar over the painting I place them on a hard smooth surface (glassine paper on top). Using a rolling pin and plenty of pressure, I roll over the whole surface of the painting, in all directions, as this pushes the pastel into the paper to reduce dust fall out later, particularly at framing time. This action also seems to brighten the painting by bursting the tiny balls of pastel on the surface and pushing them into the paper. I then will leave the painting on the backing board for one or two weeks, out of harm’s way, to let the pastel surface “acclimatise”. This also helps reduce dust falling later. Last steps before framing will be to check and touch up the highlights if need be, and one more final rolling.
• To remove pastel I prefer FaberCastell “putty rubbers”, after first brushing off with an old paint brush.
• I also use a collection of various size and shape blenders, some rubber and some paper. I find the rubber blenders particularly good for tidying up edges, and also for dragging through “water” to create reflections.