Anime hair is drawn using thick, marked sections rather than individual strands. This can result in spiky, variable-looking hair, or hair that appears smooth and straight. Drawing anime hair may seem complicated at first, but by parting the hair into different sections and working one step at a time, it is quite simple! Before you begin, decide if you want to draw short or long anime hair since the process is a little different depending on the length.
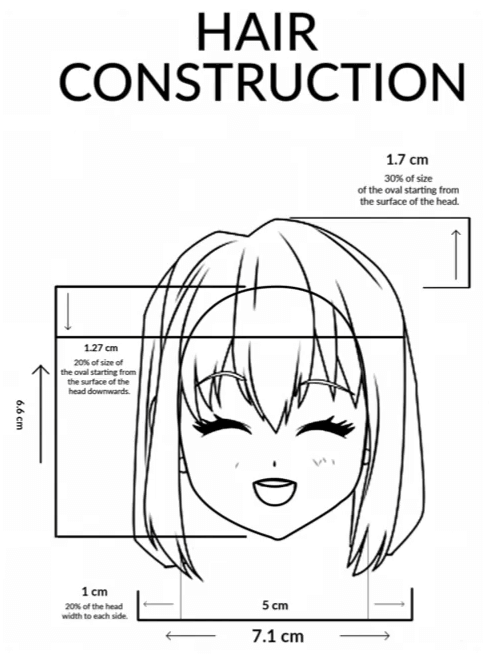
Hair is a bit of a tedious element, because it is like a substance that can take many forms. That is why manga artists have developed a special method to simplify hair. In manga or anime, you can draw hair as a mass or weave. This way you can draw it very quickly, with an exaggerated shading that covers up the lack of detail.
In this tutorial I will teach you how to draw various manga hair styles: straight hair, wavy hair, with pigtails and short hair. I will also explain the method it is based on, so that you can draw your own anime hairstyles from scratch.
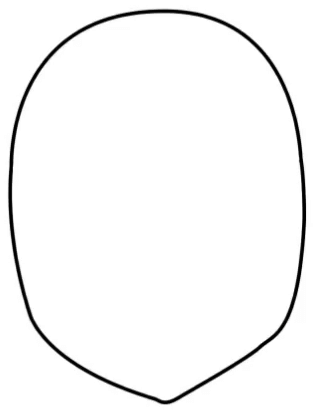
1-We must draw the outline of the head. If you haven’t drawn a head yet, do it first before starting the hair. It is very difficult to draw hair without the outline of a head. For the head, make an oval that is narrower at the bottom than at the top.
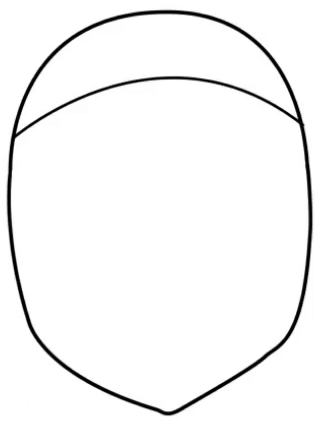
2-Sketch the hairline near the top of the head. To draw the hairline, start with the pencil on the left side of the head down about halfway. Next, draw an arc from the left side to the middle on the right side of the head.
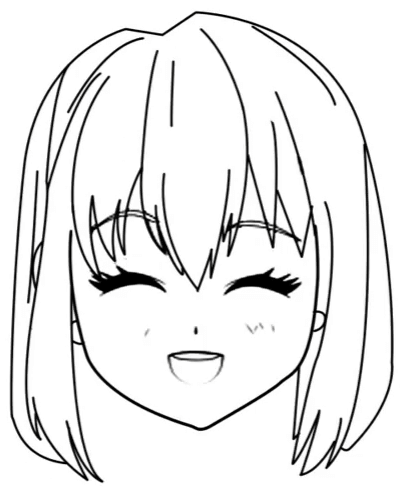
3-Let’s draw the pieces of hair descending from the curved line that we draw as a guide. This is where the hair starts to come out on the forehead.
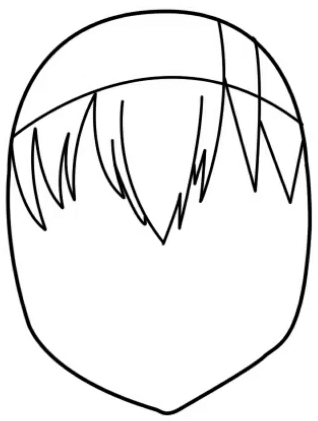
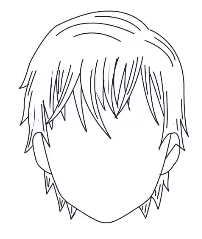
4-Contour the rest of the hair. Once you’ve drawn the front section of the hair, outline the top, sides, and any exposed strands at the back of the hair.

5-Add more details inside the outline. Once you have the main outline of the hair, go back and draw additional sections of hair within it. Make sure they are thick and set in such a way that the hair still looks anime-like.