
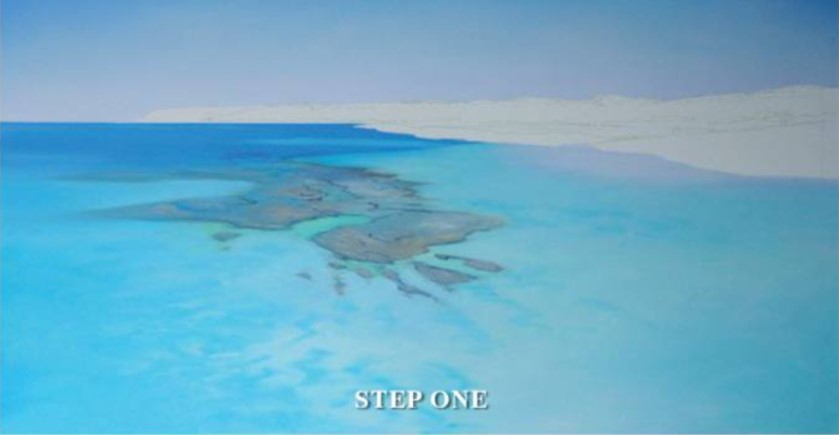
STEP ONE
After drawing the guide lines onto the canvas, the sky, sea and underwater rocks are blocked in.
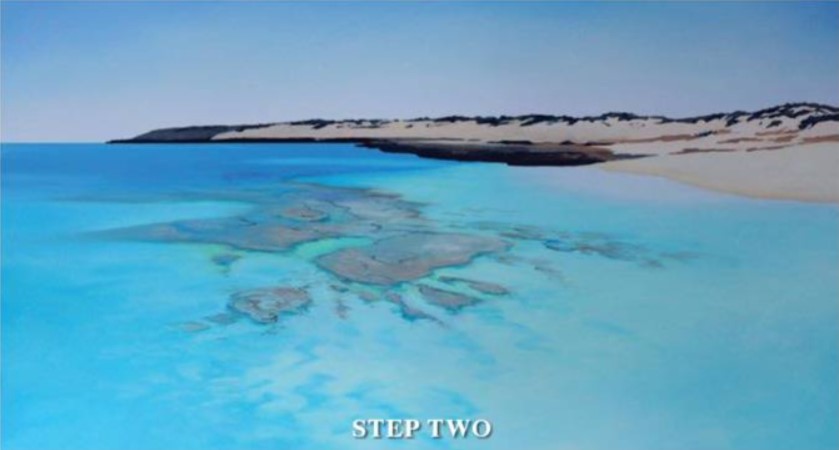
STEP TWO
The beach and headland are blocked in and more work is done on the underwater rocks.
STEP THREE
I start to define the rocks and coral in the foreground.

STEP FOUR
A lot of detail has been added to the rocks, and coral and light ripples have also been added to the foreground, The beach rocks and headland have all been defined and clouds have been added to help the composition.

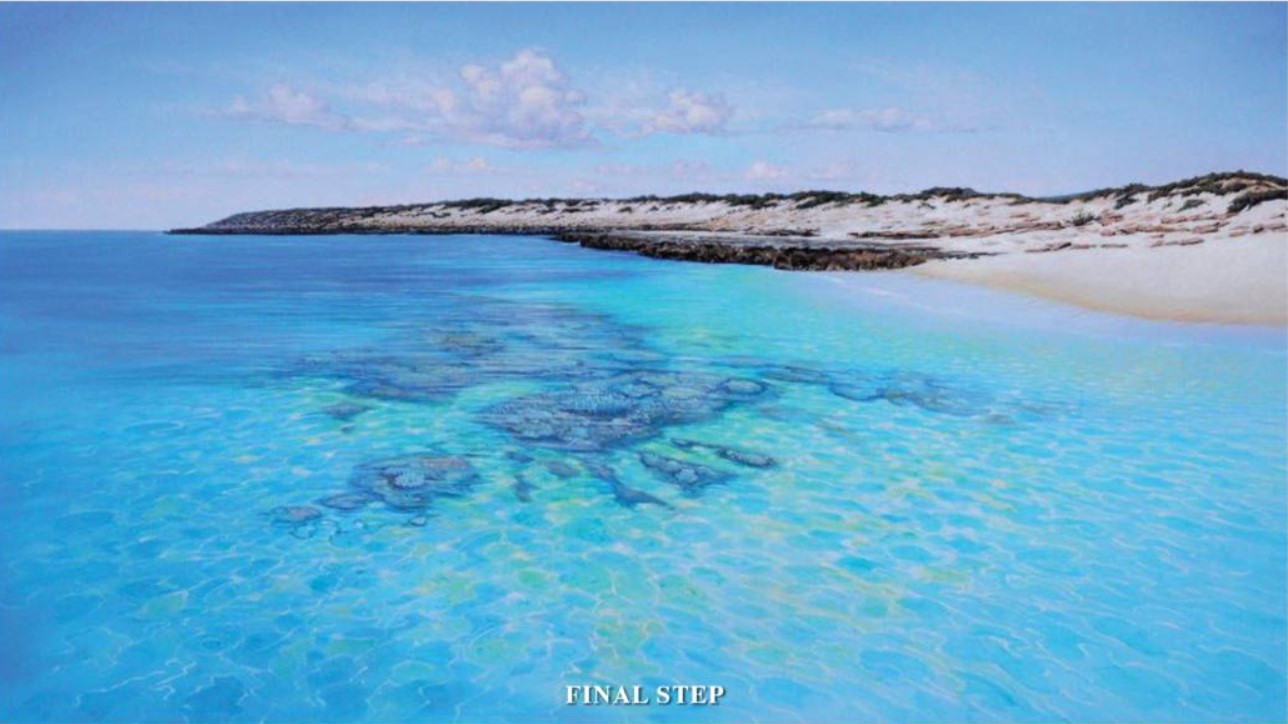
FINAL STEP
Some more work has been done to the sky with extra clouds added and then the final touch to the painting is adding the reflections of the sky and clouds to the surface of the water.

ARTIST’S HINTS AND TIPS
• I buy 12 ounce canvas and Belgian linen by the roll. I also buy my own stretcher bars and make my own rigid stretcher frames. This allows me to make paintings any size that I want and also reduces costs.
• For larger landscape paintings I use artist quality cotton canvas which I prime myself using three coats of gesso applied with a brush and sanding with 180 grit free cut abrasive paper between coats. I like to make a line drawing as a guide on the canvas with pastel pencils. I usually use a colour that corresponds with the dominant colour of the painting.
• Patel pencils are a good choice because of the ease that they can be erased without leaving any mark on the canvas.
• For portrait paintings I like to stretch my own linen, which I then size with rabbit skin glue and prime with a good quality artists oil painting primer.
• I use soft brushes for portraits to achieve fine detail and for larger landscape paintings I always make an underpainting with natural fibre bristle brushes and paint successive layers with a range of synthetic fibre brushes.
• I always try to paint using natural light but I find that if the need arises then some seascapes can be painted using daylight fluorescent globes without affecting the colour very much.