Let’s draw and create some professional-looking anime eyes Quick + Easy!
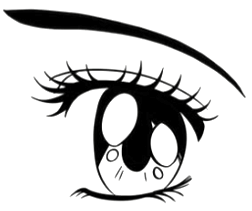
This first eye’s basic shape is round, and not too tall. Start with the upper eyelid wider than the lower one.
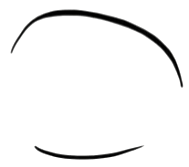
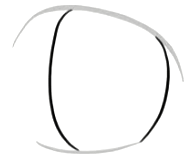
The grey lines are from the previous step, and the black lines are the current step.
In between the eyelids, draw the large iris like an oval.
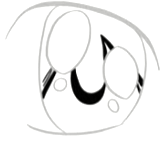
To make the eye look pretty and sparkly, add highlights! These can be different shapes as seen previously, and you can try any number of them.
This is a great way to make eyes look lively and alert!

TIP: The more highlights you add. the wetter the surface of the eye looks. If you want a character to look like they’re going to cry, add a lot of highlights!
Now draw the pupil underneath all the highlights. The highlights are on the surface of the eye, so everything will be below them.
Also, draw some lines in the top part of the eye for the dark shading later.
Let’s make the eyelids thicker so they stand out! Try to make the upper lid thicker than the lower one. This is a nice way to “balance” the look of the eye.
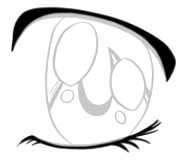
Add some glam lashes! Spread them throughout the upper lid, or group them at the ends. It’s up to you!

Once the eye itself is done, go ahead and draw a nice, arching eyebrow. The front part of the eyebrow is rounder and thicker than the tail end.
TIP: If you want a character to look graceful, try eyebrows that end with thin tips. If you want a tougher look, try thicker eyebrows! Experiment
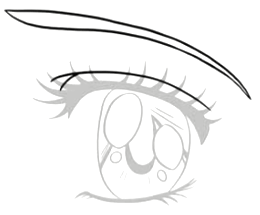
Ink your eye with a thin-tipped pen, outliner, or marker. Try to get the tips of the lashes thin for an extra glamorous look!

If you like, fill in the dark areas to make the eye stand out even more.
Practice drawing the other eyes in this book. The more you draw, the better you draw!