
MATERIALS
• ½ sheet of Colourfix paper (Australian Grey)
• Tracing paper
• Various soft pastels (Unison,Art Spectrum and Schminke)
• Faber-Castell hard pastels
• Pastel pencils (Faber Castell, Conte, Stabillo)
• Kneadable eraser
• Workable fixative
There is something magical about pastel. The luminescence,the immediacy, the vibrancy and the feeling of that small stick of pigment being an extension of the hand all contribute to pastel being my favourite medium.
Pastel can be used in so many ways to complete work in an artist’s chosen style. I like to use it to achieve the fine detail required in my paintings of wildlife, particularly birds, and can be carefully blended in backgrounds to suggest environment.
Apart from oil pastels (a totally different oil-based medium), hard pastels (square-based sticks), pastel pencils and soft pastels are the basic pastels available. Soft pastels contain very little binder, in fact some are pure pigment, and are generally round in shape but they do come in all shapes and sizes. Because they contain very little binder they tend to be powdery and can sometimes crumble. Hard pastels contain more binder and are silky to the touch. The colour range is limited. Pastel pencils have a “pastel” core encased in wood.
I prefer to work almost my entire painting in Faber-Castell hard pastels,using one pastel to overlay another, and using pastel pencils to blend and modify colour. I use soft pastels at the very end, for my lightest lights and my darkest darks. With this method I find there is very little dust and absolutely no reason to spray the completed work with fixative.
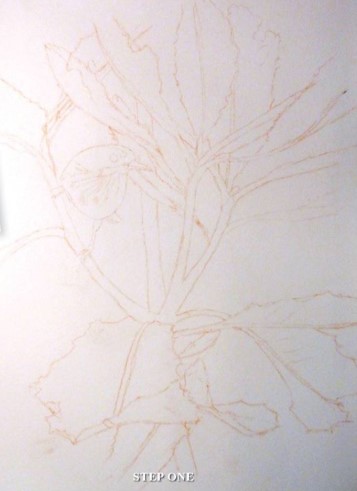
STEP ONE
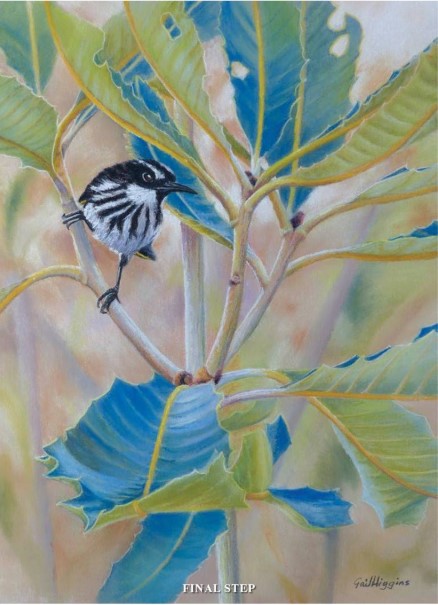
Using several of my own reference photos of the honeyeater, I draw up my work on tracing paper. The main image I have of the bird is of a juvenile so I have altered the cheek patch and plumage colour for a mature bird. I have also extended the leaves at the top and drawn another set of leaves at the base for a stronger composition. After covering the lines on the back of the tracing paper with a terracotta hard pastel, I transfer the image to the Colourfix paper and spray with fixative to set the drawing.
NOTE: ACHIEVING DETAIL
Surprisingly, perhaps, I do not use the pastel pencils for detail. My method is to loosely block in using hard pastel in colour and tone required. I then gently soften the pastel with my finger and repeat this process sometimes several times – not worrying too much about edges. Next, I use the pastel pencils in a similar or contrasting colour to smooth out the pastel but still retain the vitality of the pastel. To create fine lines I snap a hard pastel stick, creating eight crisp edges – my pastel trays contain very few full sticks!
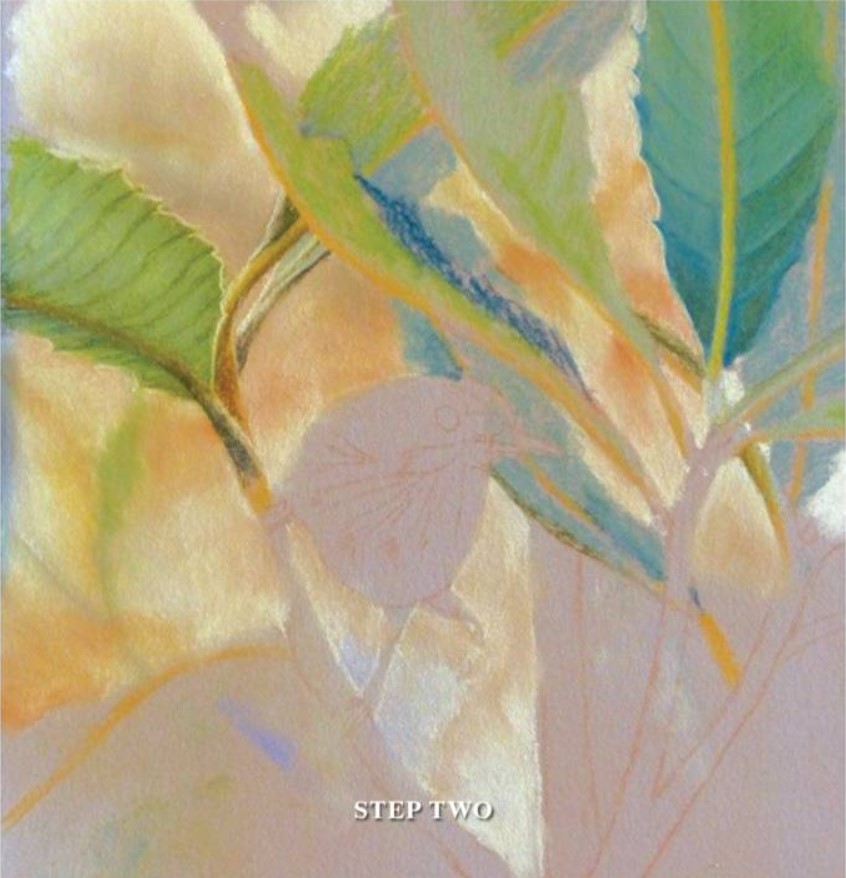
STEP TWO
Working top to bottom, and left to right (I am right handed), I start to block in the background to suggest the wallum country where the banksias grow. In doing this, I find my drawings of the leaves difficult to decipher so have to carefully re-draw to make sense of each leaf. The leaves are hard and sharp edged, and the top colour is quite different to the underneath. I start gently smoothing out the pastel with my fingertip.
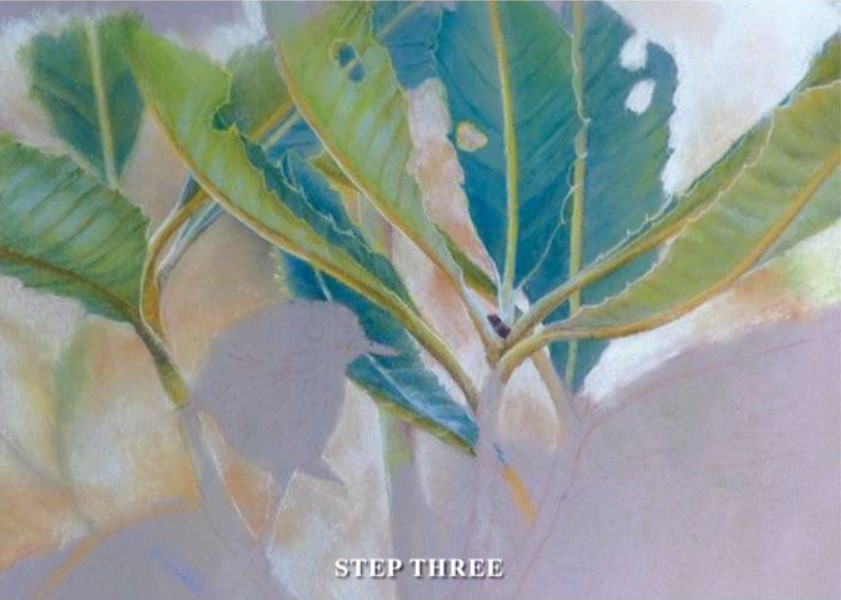
STEP THREE
It’s coming together – I have defined each leaf in this section and am happy with the background. I have modified the colour and tone of each leaf so far with pastel pencils and used the broken edges of hard pastel to define the leaf outlines.
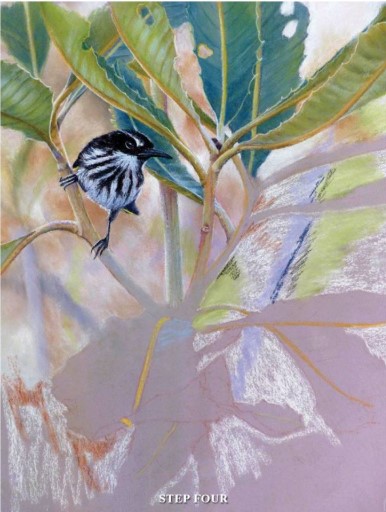
STEP FOUR
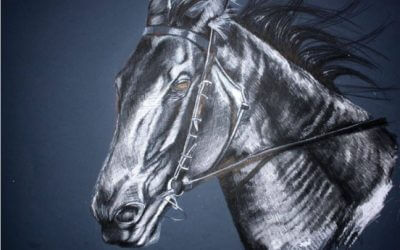
Time for the honeyeater – this is where I use my lightest light (white) and my darkest dark (black) so the bird becomes the focus of my painting. I take special care of the eye area. Up to this point nothing is finely completed but I can see where I’m going with the work. I block in more of the background, working down the paper.
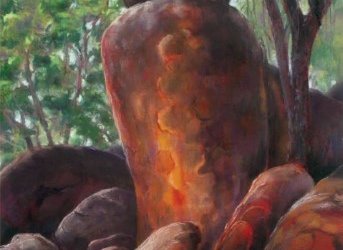
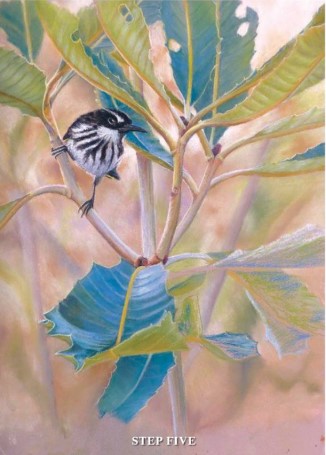
STEP FIVE
I complete the background and stems on the right hand side of this section before moving on to the lower left section. As I blend in the background
I try to create a sense of depth by suggesting more of the banksias. The large leaf links the two “sections” of the painting by its colour and by the tip pointing upwards. This should help to make the eye of the viewer travel around the painting through the Phthalo blue tones.
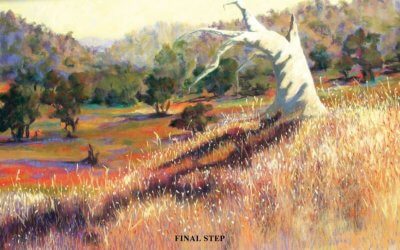
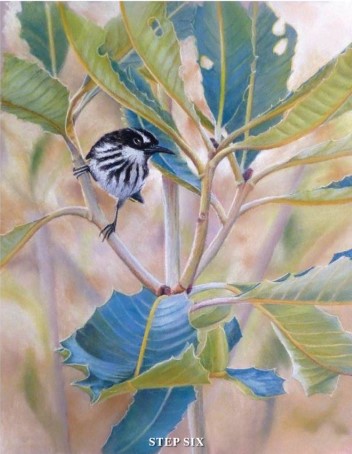
FINAL STEP
After working on this section I go back to the top of the work. It is now that I brighten the painting with some soft pastel and ensure my mantra of “light against dark, dark against light” is applied. I re-work the bird, and complete its feet, then leave my painting for a few days, tweaking it and refining it before signing.
ARTIST’S HINTS AND TIPS
•Apply hard pastel under soft. Hard pastel over soft results in a sludge
• Use a pastel pencil or another hard pastel to smooth out and blend
• In large areas of blend, use a small piece of a white poly food tray.The lighter toned hard pastels are softer than the strong dark colours and so are easier to blend.
• Snap a pastel stick to form four sharp edges on each piece. Use these edges for fine lines.
• Do not blow the pastel. Though the hard pastels create very little dust, there will be some so let it drop down the work (if working on an easel) or stand the work up and gently tap so dust falls onto a drop sheet.
• Enjoy!