
MATERIALS
• Strathmore Bristol paper 300 series, in this case A3 size.
• Rotring Rapidograph pens;13mm and .20mm. (Edding, Pitt and Aristo produce fine line pens which could easily be used as an alternative)
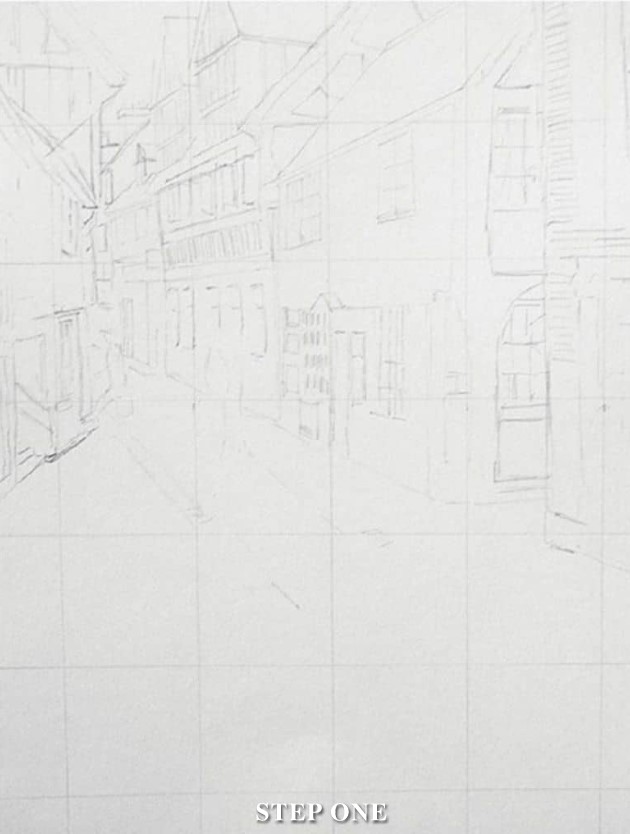
STEP ONE
Whether I am working from a sketch made at the scene or from a photograph I always square up the page using 4, 5 or 6cm squares, depending on detailing shapes of buildings for accuracy, and in this instance I used 5cm squares. The sketch was slightly smaller and that I had also covered with squaredtracing paper. Using a pencil I prepared an accurate outline of the picture.
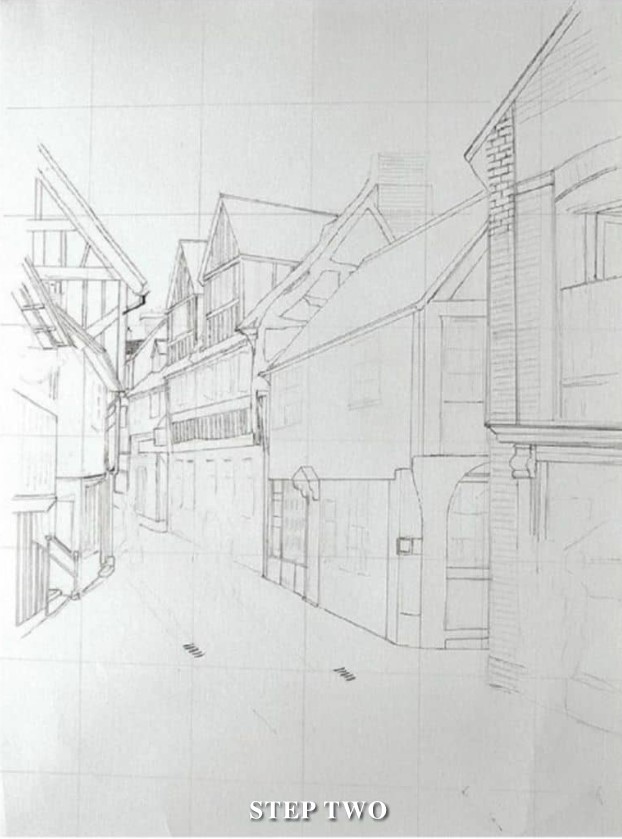
STEP TWO
Carefully draw the outline of the buildings, using finer point until you have an accurate outline of the picture.
STEP THREE
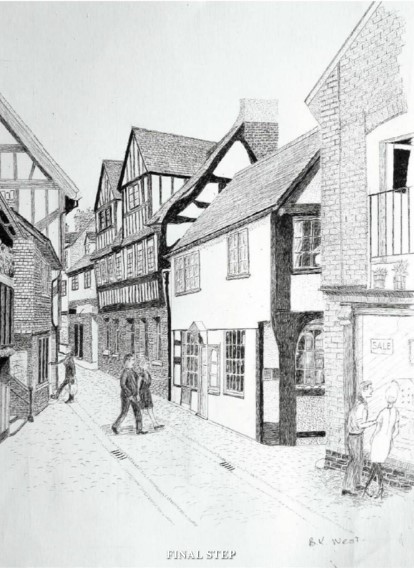
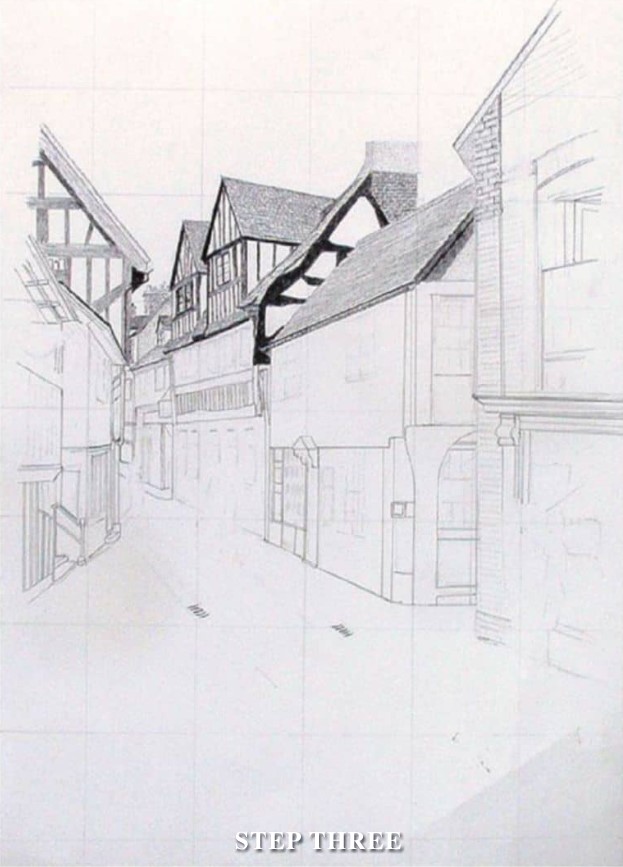
I always start from the top of the picture slowly working down to complete the buildings. I begin with the roofs. Note that the wood beams vary in light and darkness, width and shape and using longish strokes in line with the timber grain brings best results, and by increasing the number of strokes you can achieve light or dark wood beams or panels. The roofing tiles are not quite perfect through age, so neatly sketch the tiles in to get the effect of tiling. The same is true with the brickwork in the background areas of the drawing.
STEP FOUR
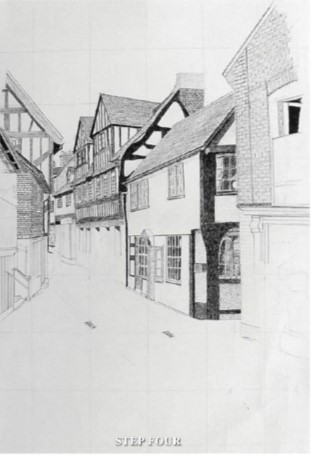
Moving further down, the building on the right with dark windows was a restaurant and had lighting inside thus giving a dark reflection, not light as in others. It also had lights breaking the darkness. I carefully pencilled in the window frames and areas of light from lamps and then inked in the glass to leave the frames white, and light showing from within. Note the woodwork and the brickwork of the new building next door. The bricks were a light colour; the lining of individual bricks with the spatter of dots worked effectively.
STEP FIVE
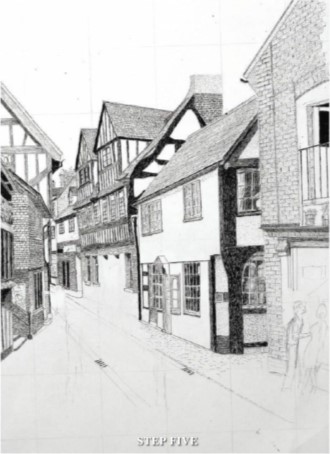
The building on the left side of the picture has a tiled front and side. The lower section is a shop, whilst the front windows are dark, the window in the alley is well lit, with an impression of products for sale. Note the steps up in the alleyway. The next building has a balcony under the roof with plants. The lower framed sections have different framing with small baskets of plants hanging along the overlap.
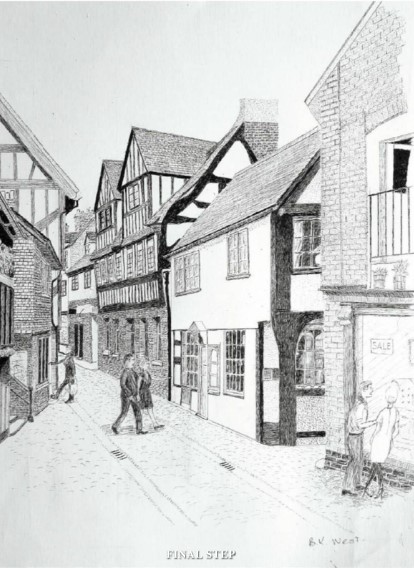
FINAL STEP
The new building on the front right also has a balcony, this time with an open door. Draw in the couple looking into the shop, then finish the wooden framing and bricks, noting the darker bricks next to the footpath. Next draw in the lady entering shop on the left. Now add the couple in the centre. With all people in place, complete the brickwork and windows of the new building. Finally add an impression of cobbles and the drain pathways.