STEP ONE (STUDIO)
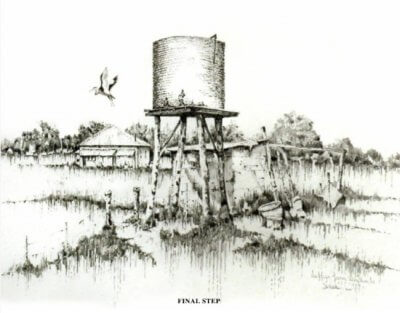
Getting set up to draw in the studio, pencils, knife, eraser etc., close to hand, John Williamson CD playing and crisp new paper.

STEP ONE (STUDIO)
Getting set up to draw in the studio, pencils, knife, eraser etc., close to hand, John Williamson CD playing and crisp new paper.
STEP ONE
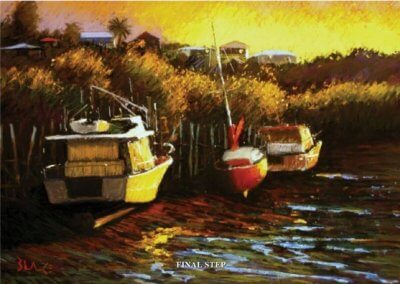
I did a quick sketch on paper just to get the feeling of the subject and some understanding of how the main shapes related to one another.
STEP ONE
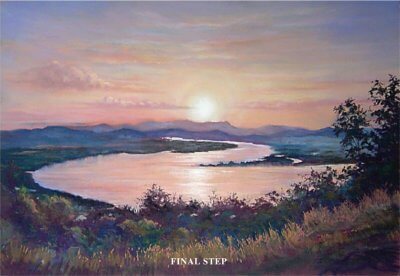
With a pastel pencil I very loosely sketch in the basic layout and shapes to establish the basic composition. I decide where the horizon line will be as I usually place it higher or lower than halfway – depending on whether I want to emphasis the sky or the foreground. The curving shape of the meandering river is a key element to this composition, so it’s important to get it right.

STEP ONE
Firstly choose a suitable image for your scratch art. Convert the image to greyscale on a computer as this will help to show the highlights and shading.

STEP ONE
Firstly, choose a suitable image for your scratch art. Convert the image to greyscale on a computer, as this will help to show the highlights and shading.

STEP ONE
After choosing your photograph for the portrait, print it out and draw in the five by five square box grid over the photograph. Duplicate the grid onto your cartridge paper. Draw in the rough outline of the face to ensure the proportions are correct. Use a 2H pencil for this but not too heavy as ‘H’ pencils tend to leave dents in the paper when you erase the lines.

STEP TWO
For the background, I layer a few tones. When I’m happy with the colours I push them into the card with my fingers, around the sketched flowers. I am careful to keep the light in one corner. The background is very important. I like to get the shading right at this stage.
STEP ONE
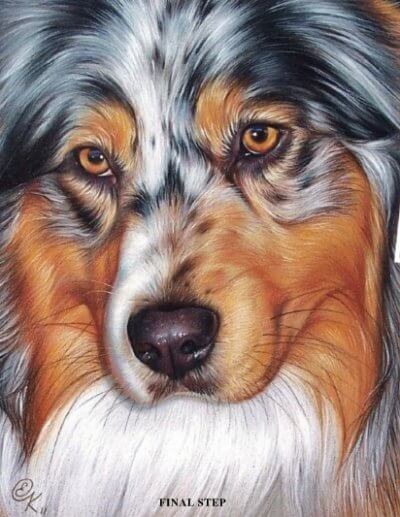
I cropped the photograph, and then drew the dog on plain white paper using a grid (or free hand). All changes and adjustments should be made at this stage, so I don’t have to worry about it later during the colour stage, as erasing could be difficult then ( but not impossible).
STEP ONE
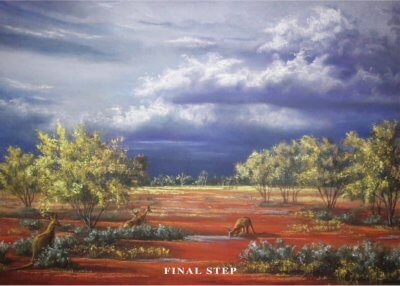
I make a sketch, considering tone and compositional arrangement, remembering that sunlight will be a feature of this painting. I select most colours before I start, choosing colours with reference to photographs. I consider complementary colours and often exaggerate a little for impact. I use Colourfix pastel paper (half a sheet of Blue Haze for this picture) taped to board for stability.
STEP ONE
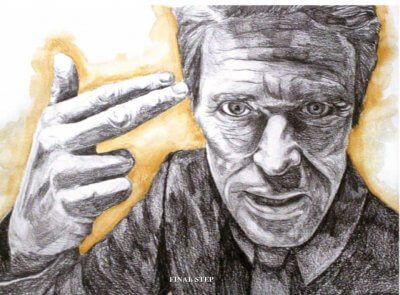
After finding the photograph you want to use, use a sheet of tracing paper and a 2H or H pencil to trace the main facial features of the person. This will give you accurate placement of the person’s face and its features.