STEP ONE
It’s incredibly difficult to see the foundation drawing on the Canson black paper, but things to remember: try to erase your lead underdrawing as you go or it will muddy your colours and can be seen under the CPs
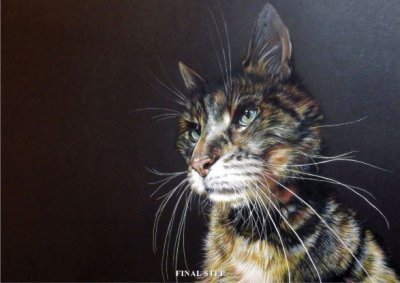

STEP ONE
It’s incredibly difficult to see the foundation drawing on the Canson black paper, but things to remember: try to erase your lead underdrawing as you go or it will muddy your colours and can be seen under the CPs
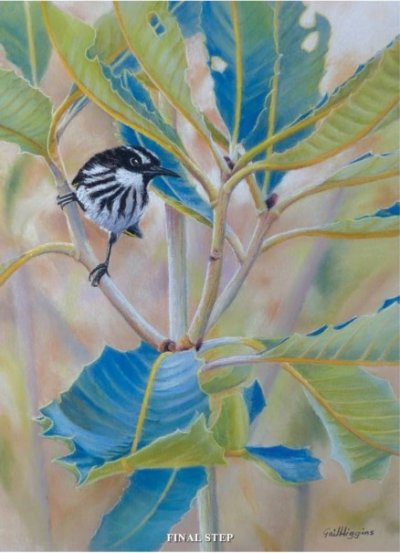
STEP ONE
Using several of my own reference photos of the honeyeater, I draw up my work on tracing paper. The main image I have of the bird is of a juvenile so I have altered the cheek patch and plumage colour for a mature bird.
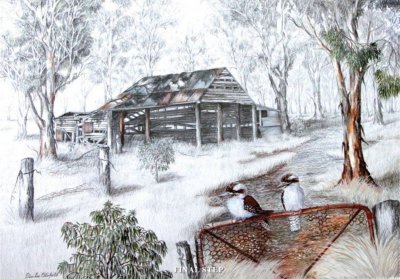
STEP ONE
Having decided on my medium I set about sketching up my drawing, I have chosen a full sheet of 310g Illustration board lightly textured.
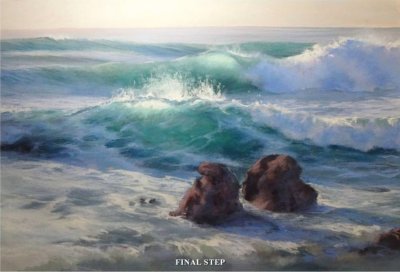
STEP ONE
Watercolour underpainting – I mix all of my colours first, having a brush for each colour. I test them to check their tone before I start, and then I wash in all the tonal areas of the paper covering all of the page.
STEP ONE
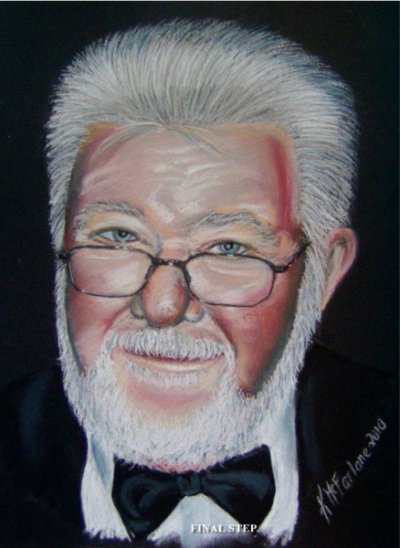
Because I love Art Spectrum ColourFix paper, I chose black as the background colour. In using black I hoped to highlight Woofa’s distinguished hair and beard.

STEP ONE
Using 140lb Fabriano Hot Press Watercolour paper and an H Graphite Pencil I made a faint drawing of the bird using a grid so that I got the proportions correct.
STEP ONE
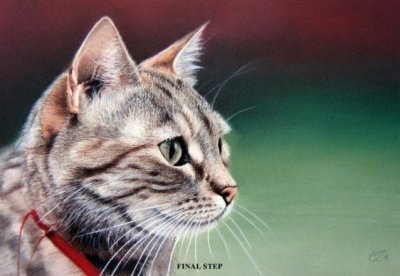
To do the initial sketch, I create a scaled drawing of the subject on paper (working from photographs). I concentrate on key lines around the eyes, nose and ears. Getting these details correct now is essential to creating a real likeness to the subject. Often I will use a few grid lines to help scale up a subject.
STEP ONE
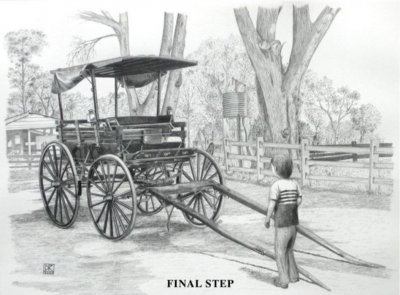
I faintly drew the major parts of the carriage onto the paper with a 2H lead, paying particular attention to the wheels. These were the most difficult part of the drawing and many changes were made before I was satisfied. I used my adjustable callipers to locate the first wheel on the paper and to transfer just the major points of the carriage onto the sheet; and then drew the main lines of the carriage.
STEP ONE
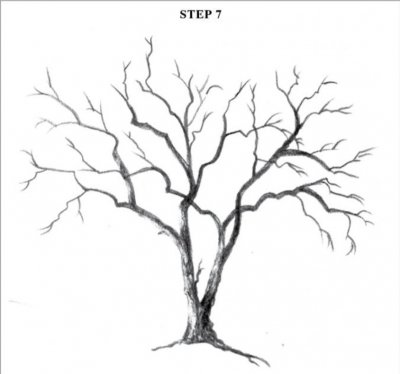
Observe a tree and imagine it without leaves. The structure that is left (trunk, branches and twigs) comprises only lines – some straight, some curved or zig-zaggy or thick or thin, or very fine – but only lines; and everybody can draw lines.
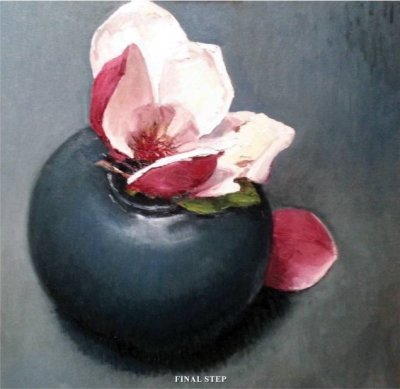
STEP ONE
I don’t have a set method of painting, often just working instinctively and allowing the subject and medium to decide. In this case I set up a simple still life under the skylight in my studio and firstly drew up the basic lines of the composition in charcoal.

STEP ONE
I took around 200 photos of this dog in a brief photoshoot with a commission client. Sometimes I take several hundred of my subject in the hope that half a dozen will stand out. In this case, there was one head pose that shone out for my client’s portrait, but I wanted to revisit this pose in particular, as it totally captured the spirit of a spaniel at work, and the black fur was captured perfectly in the natural light.
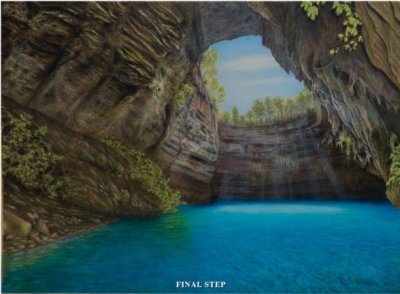
STEP ONE
First I drew the outline using Raw Umber with light pressure. I usually work section by section. In this case I began at the left top part of the picture. First I painted the rocky upper part using Warm Grey II as an underpainting.

STEP ONE
I trace the completed drawing onto a piece of tracing paper and transfer it to the Clayboard. For this example, I put a piece of graphite paper (shown here) under the tracing paper and lightly traced over my lines with a ballpoint pen. I am careful not to press too hard because it will indent the clay.
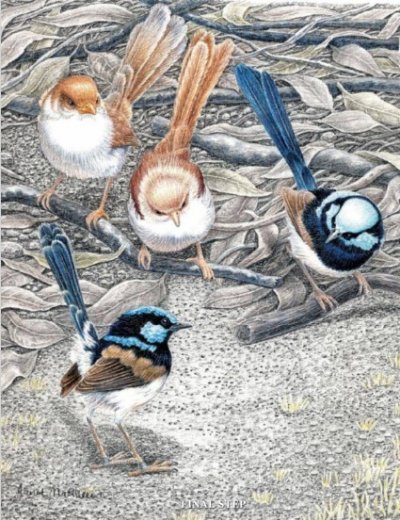
STEP ONE
Fairy wrens are very social birds and spend a lot of time on the ground, so the theme of this image is the welcoming of one bird to a new group against the complex backdrop of the floor debris.

STEP 1
After selecting the paper size I am going to use for my drawing, I determine the size of the subject and where the horizon should be. I do a rough sketch at this time, taking care that the horizon is not in the centre or near it, because wherever the horizon is placed it will always be seen at eye level.