9
Pastels,

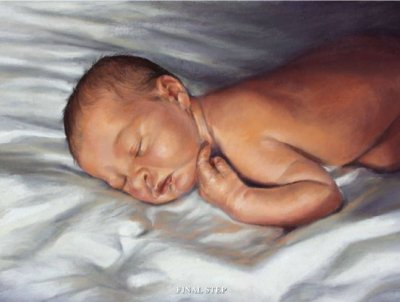
Pastels – Portrait of Emma

STEP ONE
When setting up for the portrait, I choose a space that provides a pleasant ambience with good lighting; music (if preferred); and minimal interruptions or distractions. I meet the subject and get a feel for their character, and I ascertain what the person commissioning the painting is expecting from the portrait.

8
Pencils,

Pencil – The Drawing of Oscar

STEP ONE
I begin by printing the original photo on an A4 piece of paper in grayscale, and drawing a 1cm grid on the printout. I then draw a 1cm grid on the A3 drawing paper using a 2B mechanical pencil, using a light touch as these lines will be erased as I progress through the drawing, Using the same pencil, I lightly draw in the outlines of the body and dark areas from the grayscale picture onto the grid.

6
Pencils,

Pencil – Hydrangea

STEP ONE
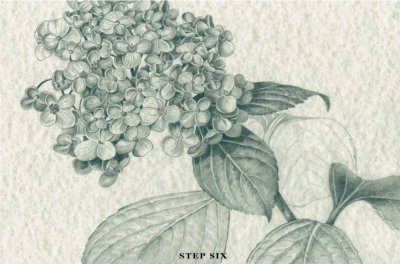
Because it provides an interesting background, I selected a sheet of softly marbled pewter coloured paper for my drawing of a Mophead Hydrangea. Carefully examining the specimen from all angles, I determined its shape would best suit a landscape format.

5
Pastels,

Pastels – Life from the River

STEP ONE
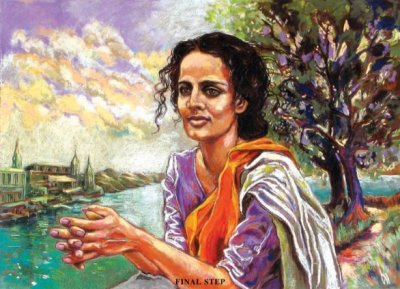
On the smooth side of the pastel paper I use an off white pastel pencil to sketch the bare outlines of the figure, the river bank and the tree. Precise drawing at this stage isn’t necessary; it’s the composition that is important. The pastel pencil line is easily removed with a soft rag if I want to change anything. Four different photographs are used for reference for this picture.

11
Pastels,

Pastels – Goodnight Quinn

STEP ONE
I work from reference images I’ve photographed either printed as photos or on my computer. I draw the image on white paper, and transfer it on to my final paper with tracing paper. I use white pastel pencil on the underside and trace the image with a graphite pencil.

8
Pastels,

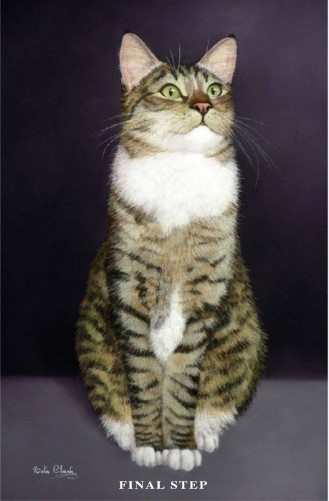
Pastels – Tabby Cat

STEP ONE
I define a clear border to contain the end result and leave reasonable space all around to facilitate handling. This space includes an area to “test blend’ colours. I use charcoal pencils and a brown pastel pencil to formulate the major shapes, before adding a light pink around the ears.

4
Pencils,

Graphite – Damien

STEP ONE
This is essentially the ‘block in’ stage where I map out roughly the position of the nose, mouth and eyes. I usually start with the contour of the head and the strokes are usually a lot lighter than in this demonstration. I try to keep things light and move things around until I get a feel for the face.

6
Scratchboard,

Scratchboard – Wall of Stripes

STEP ONE
I’m using a board manufactured by Ampersand, pre-cut to 11″ x 14” and I’m working from one of my own references from Etosha National Park in Namibia. Zebras come to this waterhole in large numbers and give the artist some great opportunities. I plan to literally fill the board with zebras and have titled this piece “Wall of Stripes”.

5
Pastels,

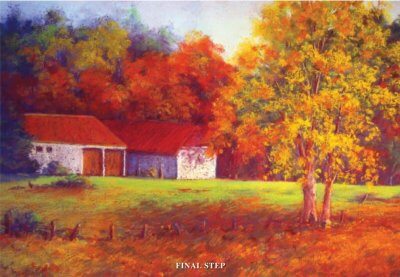
Pastels – Autumn Beauty

STEP ONE
I had started another painting on this sheet of Terracotta Colourfix, and decided to abandon it. After tapping and brushing off most of the existing pastel, I washed the paper with a brush lightly loaded with water; and blended some of the remaining pastel.