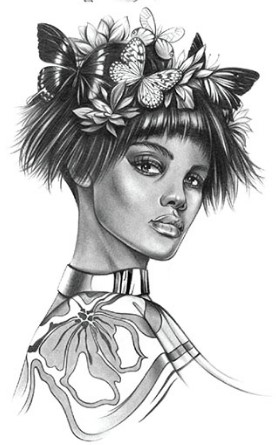
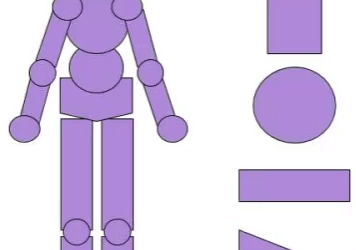
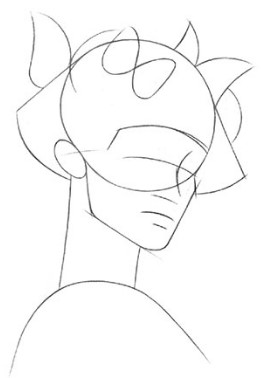
1-Flip to step 8 to see the finished product. Break down the image into simple shapes and lightly sketch it out.
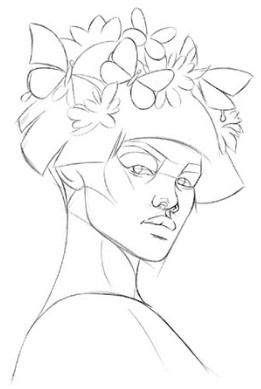
2-Now, lightly sketch more specific details, planning out the facial features, breaking down the outfit, and mapping out significant shadows.
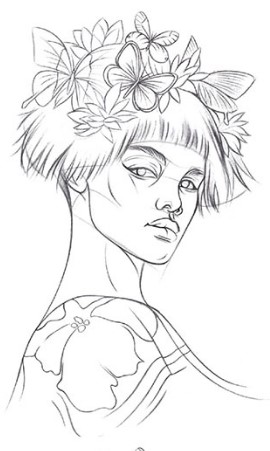
3-With an H pencil, lightly render the area covered by mid-tone and shadow, and blend smoothly, following the contours of the face and clothes.
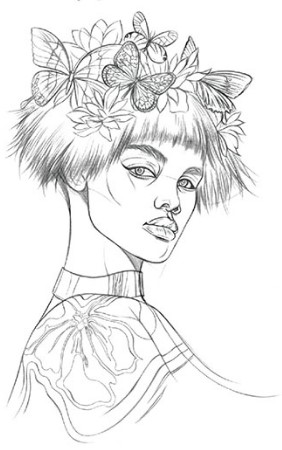
4-Smudge out or pencil-render the mid-tone to light area.
5-Now focus on hard edges and soft edges. You’ll see hard edges more in the folds of clothes. Soft edges are more like the soft curves of your face. Start in the lighter areas and render the hard and soft edges.
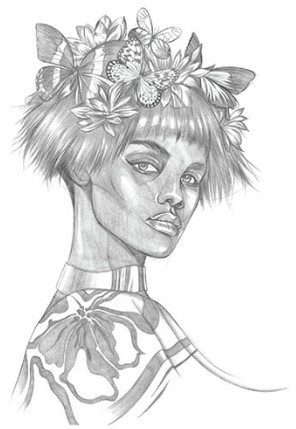
6-Continue rendering out into the mid-tone and shadow area with the edges. You should end up with a drawing that is just value.
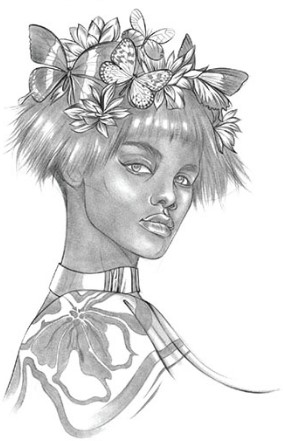
KEY-DETAIL PRACTICE
The values around the face are light and delicate. Using only value, render the tip of the nose and nostril area following the curves of light and shadow, no lines.
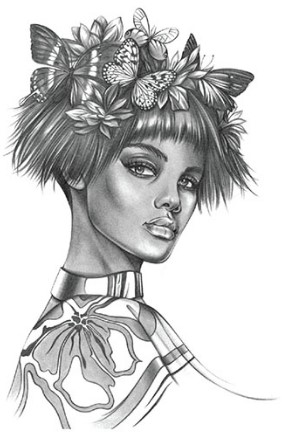
7-Now refine details like the hair and costume features. Instead of just dropping down random lines to add texture, pay attention to each individual mark, note its value in the piece, and apply selective pressure to draw it.
Artist Trick
If you need to lighten an area but don’t want to erase, try white chalk or charcoal
8-Finish by pumping the contrast, making the darkest areas almost black. Use a fine-line paint marker to hit highlights in the hair, in the eyes, on the skin, and in the accessories.