STEP ONE
Prepare your surface. My surface is firstly primed with Colourfix primer which allows the pencil to really grip onto the surface – it’s a bit like working on Colourfix pastel paper.


STEP ONE
Prepare your surface. My surface is firstly primed with Colourfix primer which allows the pencil to really grip onto the surface – it’s a bit like working on Colourfix pastel paper.
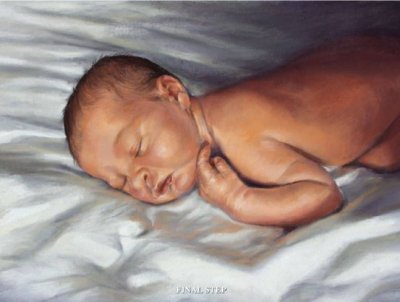
STEP ONE
I work from reference images I’ve photographed either printed as photos or on my computer. I draw the image on white paper, and transfer it on to my final paper with tracing paper. I use white pastel pencil on the underside and trace the image with a graphite pencil.
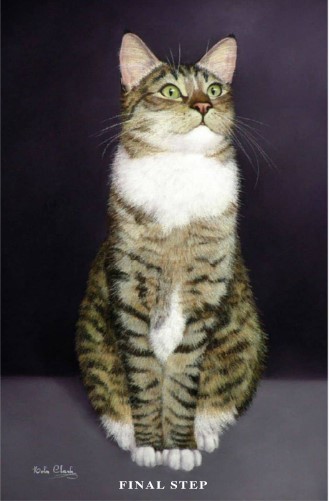
STEP ONE
I define a clear border to contain the end result and leave reasonable space all around to facilitate handling. This space includes an area to “test blend’ colours. I use charcoal pencils and a brown pastel pencil to formulate the major shapes, before adding a light pink around the ears.

STEP ONE
This is essentially the ‘block in’ stage where I map out roughly the position of the nose, mouth and eyes. I usually start with the contour of the head and the strokes are usually a lot lighter than in this demonstration. I try to keep things light and move things around until I get a feel for the face.
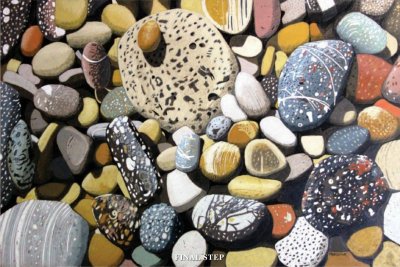
STEP ONE
For this drawing I used a 40 x 30 cm piece of Canson pastel board (colour 502); and Havane Clair, Prismacolor, Verithin and Polychromos coloured pencils (these are my preferred pencils as they are of the highest quality and they blend together easily).

STEP ONE
I’m using a board manufactured by Ampersand, pre-cut to 11″ x 14” and I’m working from one of my own references from Etosha National Park in Namibia. Zebras come to this waterhole in large numbers and give the artist some great opportunities. I plan to literally fill the board with zebras and have titled this piece “Wall of Stripes”.
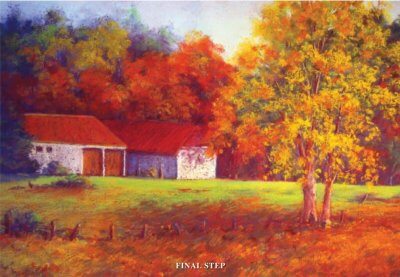
STEP ONE
I had started another painting on this sheet of Terracotta Colourfix, and decided to abandon it. After tapping and brushing off most of the existing pastel, I washed the paper with a brush lightly loaded with water; and blended some of the remaining pastel.
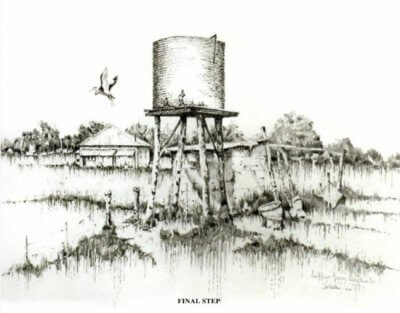
STEP ONE (STUDIO)
Getting set up to draw in the studio, pencils, knife, eraser etc., close to hand, John Williamson CD playing and crisp new paper.
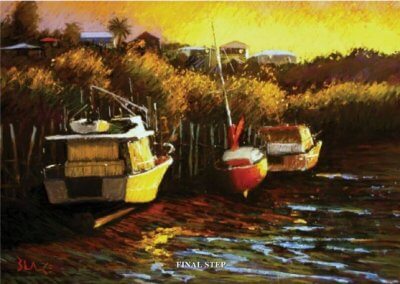
STEP ONE
I did a quick sketch on paper just to get the feeling of the subject and some understanding of how the main shapes related to one another.
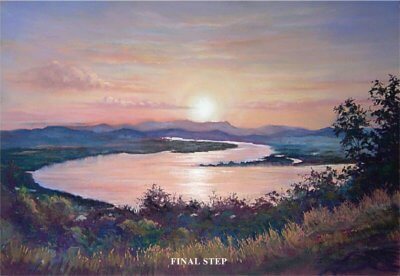
STEP ONE
With a pastel pencil I very loosely sketch in the basic layout and shapes to establish the basic composition. I decide where the horizon line will be as I usually place it higher or lower than halfway – depending on whether I want to emphasis the sky or the foreground. The curving shape of the meandering river is a key element to this composition, so it’s important to get it right.