STEP ONE
Firstly choose a suitable image for your scratch art. Convert the image to greyscale on a computer as this will help to show the highlights and shading.


STEP ONE
Firstly choose a suitable image for your scratch art. Convert the image to greyscale on a computer as this will help to show the highlights and shading.

STEP ONE
Firstly, choose a suitable image for your scratch art. Convert the image to greyscale on a computer, as this will help to show the highlights and shading.

STEP ONE
After choosing your photograph for the portrait, print it out and draw in the five by five square box grid over the photograph. Duplicate the grid onto your cartridge paper. Draw in the rough outline of the face to ensure the proportions are correct. Use a 2H pencil for this but not too heavy as ‘H’ pencils tend to leave dents in the paper when you erase the lines.

STEP TWO
For the background, I layer a few tones. When I’m happy with the colours I push them into the card with my fingers, around the sketched flowers. I am careful to keep the light in one corner. The background is very important. I like to get the shading right at this stage.
STEP ONE
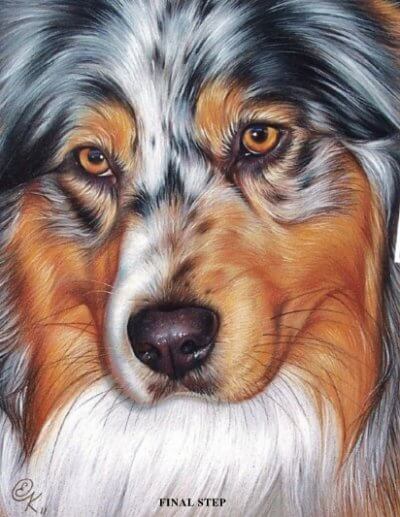
I cropped the photograph, and then drew the dog on plain white paper using a grid (or free hand). All changes and adjustments should be made at this stage, so I don’t have to worry about it later during the colour stage, as erasing could be difficult then ( but not impossible).