STEP ONE
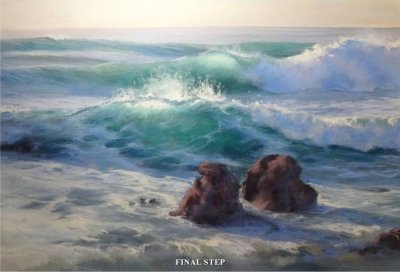
Watercolour underpainting – I mix all of my colours first, having a brush for each colour. I test them to check their tone before I start, and then I wash in all the tonal areas of the paper covering all of the page.

STEP ONE
Watercolour underpainting – I mix all of my colours first, having a brush for each colour. I test them to check their tone before I start, and then I wash in all the tonal areas of the paper covering all of the page.
STEP ONE
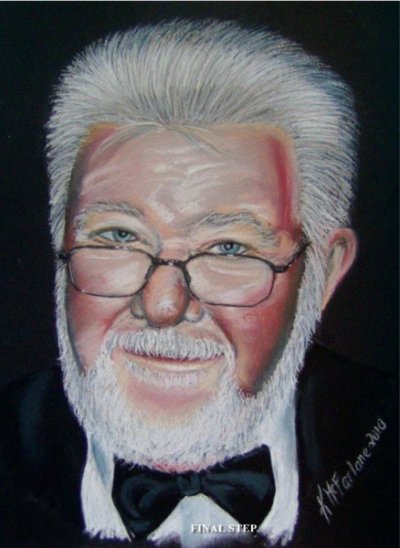
Because I love Art Spectrum ColourFix paper, I chose black as the background colour. In using black I hoped to highlight Woofa’s distinguished hair and beard.

STEP ONE
Using 140lb Fabriano Hot Press Watercolour paper and an H Graphite Pencil I made a faint drawing of the bird using a grid so that I got the proportions correct.
STEP ONE
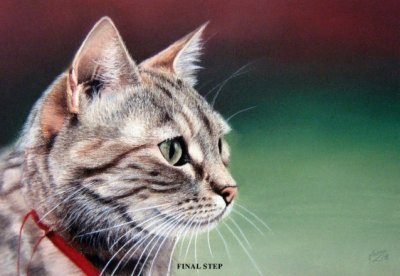
To do the initial sketch, I create a scaled drawing of the subject on paper (working from photographs). I concentrate on key lines around the eyes, nose and ears. Getting these details correct now is essential to creating a real likeness to the subject. Often I will use a few grid lines to help scale up a subject.
STEP ONE
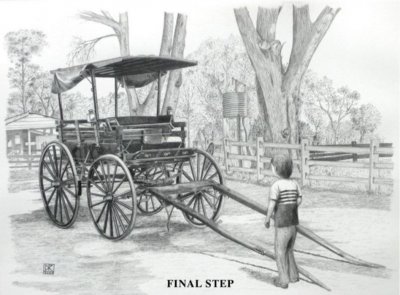
I faintly drew the major parts of the carriage onto the paper with a 2H lead, paying particular attention to the wheels. These were the most difficult part of the drawing and many changes were made before I was satisfied. I used my adjustable callipers to locate the first wheel on the paper and to transfer just the major points of the carriage onto the sheet; and then drew the main lines of the carriage.
STEP ONE
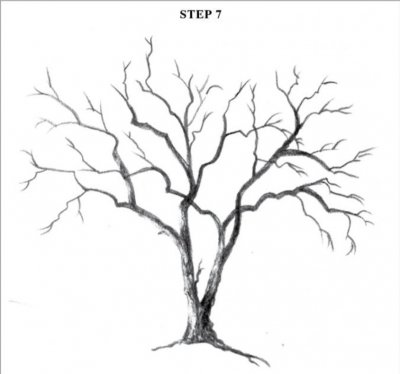
Observe a tree and imagine it without leaves. The structure that is left (trunk, branches and twigs) comprises only lines – some straight, some curved or zig-zaggy or thick or thin, or very fine – but only lines; and everybody can draw lines.
STEP ONE
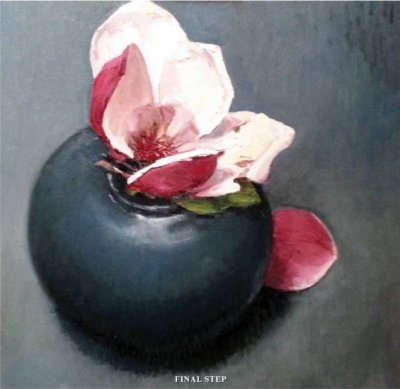
I don’t have a set method of painting, often just working instinctively and allowing the subject and medium to decide. In this case I set up a simple still life under the skylight in my studio and firstly drew up the basic lines of the composition in charcoal.

STEP ONE
I took around 200 photos of this dog in a brief photoshoot with a commission client. Sometimes I take several hundred of my subject in the hope that half a dozen will stand out. In this case, there was one head pose that shone out for my client’s portrait, but I wanted to revisit this pose in particular, as it totally captured the spirit of a spaniel at work, and the black fur was captured perfectly in the natural light.
STEP ONE
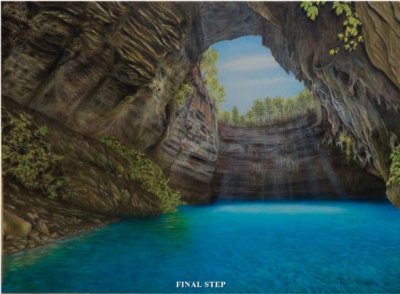
First I drew the outline using Raw Umber with light pressure. I usually work section by section. In this case I began at the left top part of the picture. First I painted the rocky upper part using Warm Grey II as an underpainting.

STEP ONE
I trace the completed drawing onto a piece of tracing paper and transfer it to the Clayboard. For this example, I put a piece of graphite paper (shown here) under the tracing paper and lightly traced over my lines with a ballpoint pen. I am careful not to press too hard because it will indent the clay.