STEP ONE
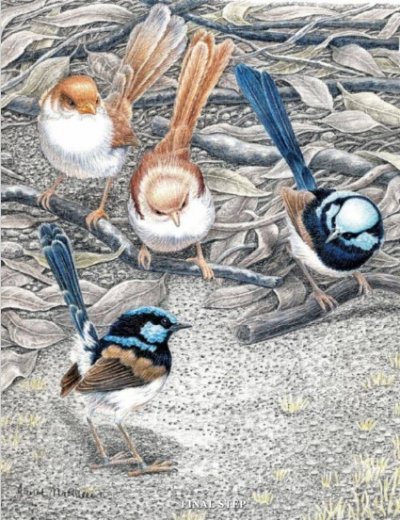
Fairy wrens are very social birds and spend a lot of time on the ground, so the theme of this image is the welcoming of one bird to a new group against the complex backdrop of the floor debris.

STEP ONE
Fairy wrens are very social birds and spend a lot of time on the ground, so the theme of this image is the welcoming of one bird to a new group against the complex backdrop of the floor debris.

STEP 1
After selecting the paper size I am going to use for my drawing, I determine the size of the subject and where the horizon should be. I do a rough sketch at this time, taking care that the horizon is not in the centre or near it, because wherever the horizon is placed it will always be seen at eye level.

STEP ONE
When setting up for the portrait, I choose a space that provides a pleasant ambience with good lighting; music (if preferred); and minimal interruptions or distractions. I meet the subject and get a feel for their character, and I ascertain what the person commissioning the painting is expecting from the portrait.
STEP ONE
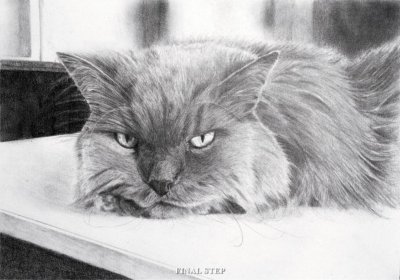
I begin by printing the original photo on an A4 piece of paper in grayscale, and drawing a 1cm grid on the printout. I then draw a 1cm grid on the A3 drawing paper using a 2B mechanical pencil, using a light touch as these lines will be erased as I progress through the drawing, Using the same pencil, I lightly draw in the outlines of the body and dark areas from the grayscale picture onto the grid.
STEP ONE
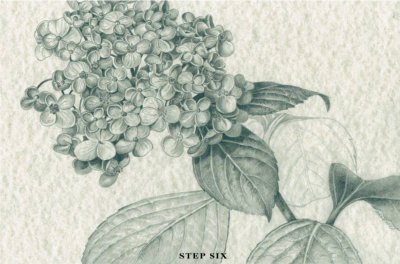
Because it provides an interesting background, I selected a sheet of softly marbled pewter coloured paper for my drawing of a Mophead Hydrangea. Carefully examining the specimen from all angles, I determined its shape would best suit a landscape format.
STEP ONE
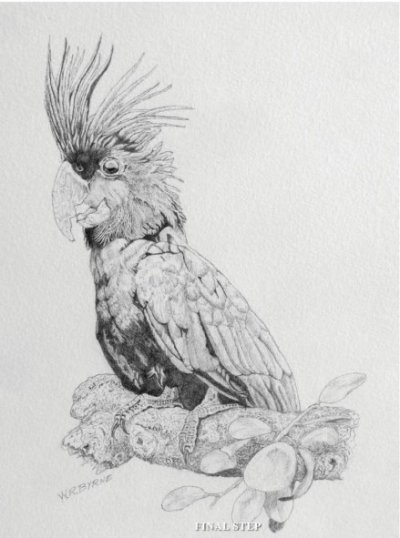
Being right handed I mark reference points from my profile lines (top and left hand side) to tips and base of crest feathers, beak and eye. Very lightly I sketch in shapes, making sure that I allow plenty of space for tight spots.
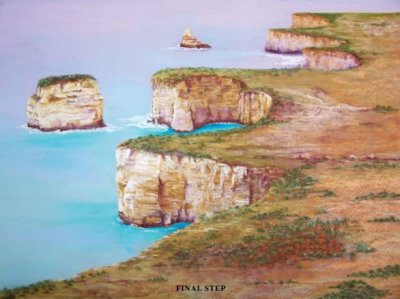
STEP ONE
I chose a fairly simple landscape for beginner pastelists, using a sheet of Mi-Teintes “Tex’ textured paper (sandpaper finish). As the actual shade of the paper plays a significant part in pastel work
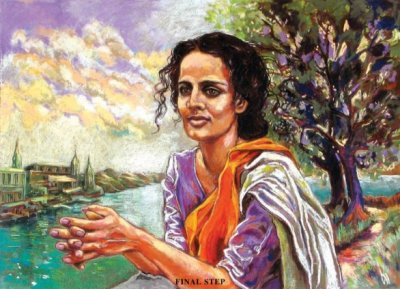
STEP ONE
On the smooth side of the pastel paper I use an off white pastel pencil to sketch the bare outlines of the figure, the river bank and the tree. Precise drawing at this stage isn’t necessary; it’s the composition that is important. The pastel pencil line is easily removed with a soft rag if I want to change anything. Four different photographs are used for reference for this picture.
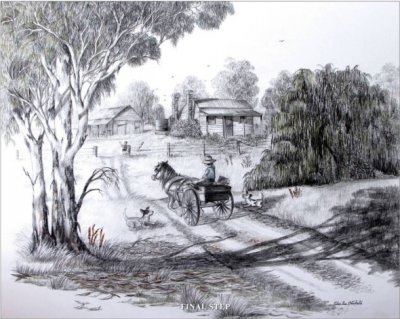
STEP 1
Starting at the background and using an HB grey lead pencil I sketch in the key elements in this picture then using a 3B Graphite pencil set about adding the details.
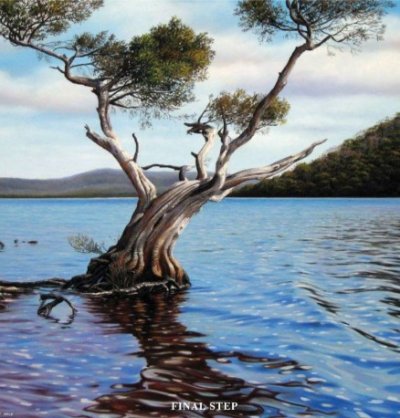
STEP ONE
The first stage is to plan the format and composition of my artwork. In this case I have chosen a square format – a square is a solid shape with a natural sense of balance and it seems appropriate for this particular subject.