STEP ONE
Having roughly sketched up and placed all of my key elements I transferred my drawing to my sheet of 310g-illustration board.

STEP ONE
Having roughly sketched up and placed all of my key elements I transferred my drawing to my sheet of 310g-illustration board.

STEP ONE
The scene depicted here does not exist. My inspiration came from a side view of a recently renovated Cape Cod cottage.
STEP ONE
Using a large steel ruler, draw a grid with the 21 graphite pencil on both photocopied reference and your working surface. Always number the squares so you don’t lose track of your position.
STEP ONE
First draw a grid over the photo reference. Usually I do this at 2cm squares, but it really depends on the size of the piece. (I use Photoshop and place a readymade grid onto my reference.)
STEP ONE
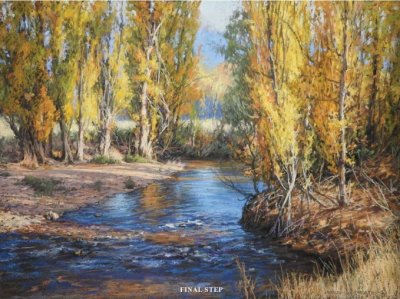
On Black Stonehenge paper, I lightly drew in some basic lines, scumbling in a few colours here and there to establish the composition and placement of the larger masses of my subject.
STEP ONE
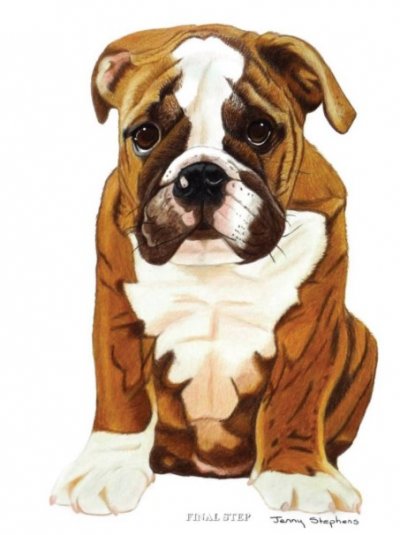
If you are not confident drawing freehand you may wish to use a grid pencilled in on an A4 photocopy of your picture. Using a grid will not put indentations in your paper like tracing will.
TEP ONE
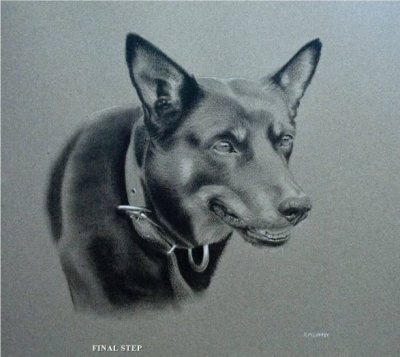
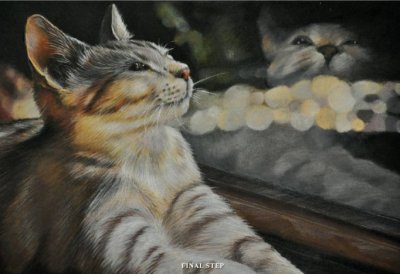
For this drawing, I am using a Clairefontaine pastel mat in Dark Grey. It has a slight sanded texture to it, but it doesn’t chew your pencils up like some pastel mats can. Place your drawing on the pastel mat paper using a light colour. When using Black I use a light hand and a pastel pencil, as I can easily rub my lines out as I go.
STEP ONE
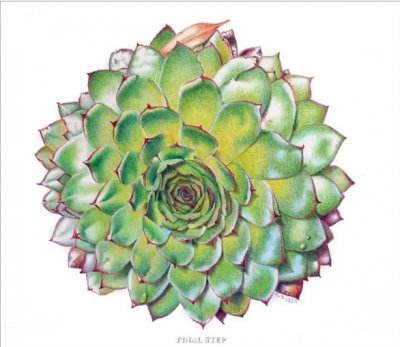
Lightly pencil in the shape of the plant, carefully noting how the petals overlap. I use the lightest coloured pencil (Pale Mint) at this stage, as you are unable to erase graphite pencil later.
STEP ONE
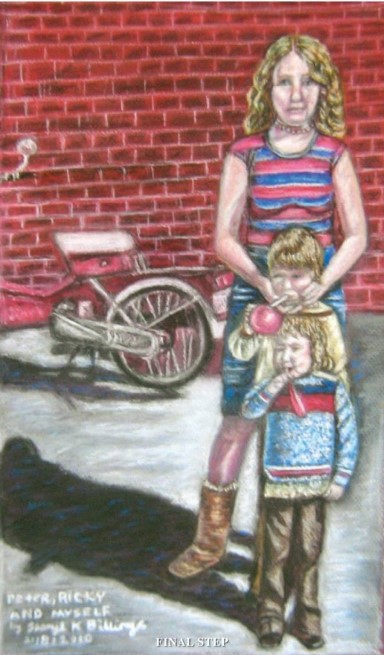
Start drafting your shapes on Canson Pastel paper with a white Derwent Pastel pencil. I found using this old photo (of when I was only 16) a real skill to practice. The most important thing is to sketch your outline of the picture first so then you will know that the composition will always balance.
STEP ONE
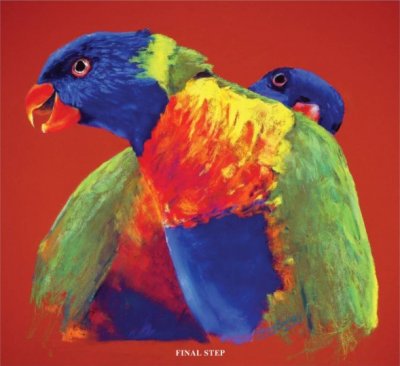
My palette. I select some colours before I start, and add to them as required.
STEP ONE
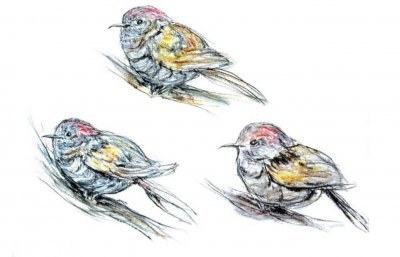
When attempting to play loosely with drawing media, I allow for as little distraction as possible. I find it vital to have all the necessary materials and nothing else (especially unsuitably coloured pastels) close at hand.

STEP ONE
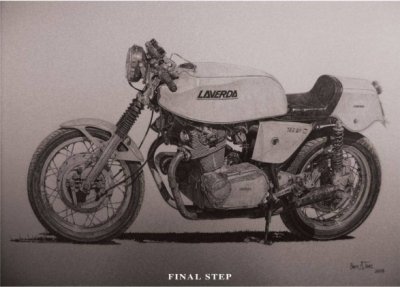
Pencil up the drawing on paper, making sure that all line work is accurate in terms of perspective and other details such as shape and proportion. It helps to lightly rule straight lines, to give the true location of long edges (such as rafters).
STEP ONE
Don’t have your pencil too sharp at this stage. Concentrate on centring your subject on the paper. Decide how much of the paper will be taken up by the subject. Press very lightly on the pencil. Draw from the shoulder (wrist doesn’t move but elbow and shoulder do). Don’t be scared to adjust lines again and again; just keep your lines super light so the ones you don’t use can be removed completely.
STEP ONE
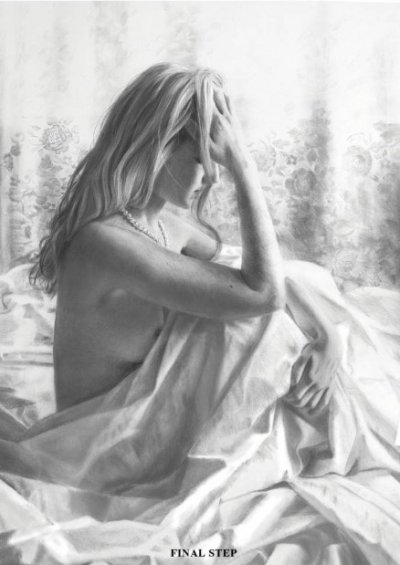
To the accompaniment of loud music, I set out the figure using a gold stylus to draw in the basic lines. In metalpoint, the harder you press on the stylus, the darker the line, so a very light touch is demanded in order to transfer the image on to the prepared sheet.