STEP ONE
My palette. I select some colours before I start, and add to them as required.

STEP ONE
My palette. I select some colours before I start, and add to them as required.
STEP ONE
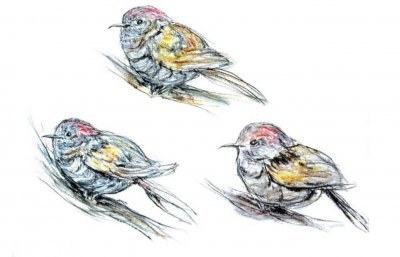
When attempting to play loosely with drawing media, I allow for as little distraction as possible. I find it vital to have all the necessary materials and nothing else (especially unsuitably coloured pastels) close at hand.

STEP ONE
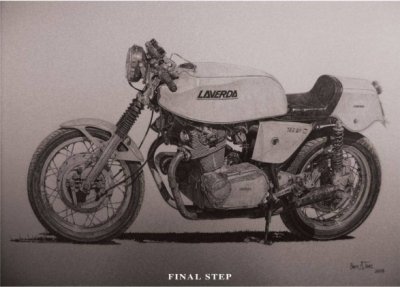
Pencil up the drawing on paper, making sure that all line work is accurate in terms of perspective and other details such as shape and proportion. It helps to lightly rule straight lines, to give the true location of long edges (such as rafters).
STEP ONE
Don’t have your pencil too sharp at this stage. Concentrate on centring your subject on the paper. Decide how much of the paper will be taken up by the subject. Press very lightly on the pencil. Draw from the shoulder (wrist doesn’t move but elbow and shoulder do). Don’t be scared to adjust lines again and again; just keep your lines super light so the ones you don’t use can be removed completely.
STEP ONE
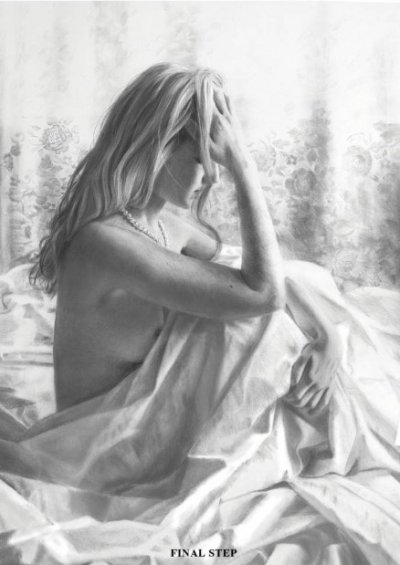
To the accompaniment of loud music, I set out the figure using a gold stylus to draw in the basic lines. In metalpoint, the harder you press on the stylus, the darker the line, so a very light touch is demanded in order to transfer the image on to the prepared sheet.
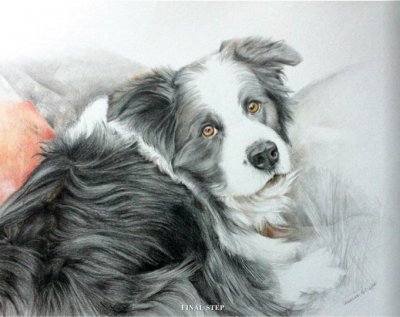
STEP ONE
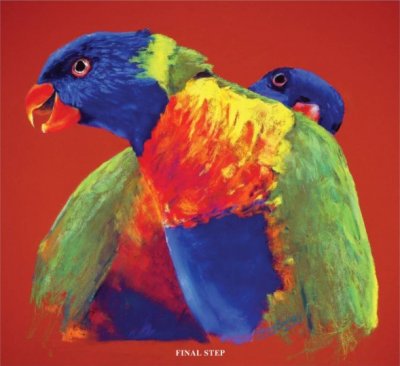
Start with the eyes, building up layers of colour, light colours first building to dark. Take care not to colour the whole area inside the eyes, leaving areas of white paper for showing the special ‘glint’ in their eyes. The first colour Canary Yellow will be the base colour.

STEP ONE
My first image shows the initial drawing in pink Conte pastel, which is kept very simple. The light areas are then underpainted with mixtures of white Colorfix primer which have been tinted with Burnt Sienna and Primary Yellow acrylic inks. This is to create a warm, light textured area for the sky and sky reflection.
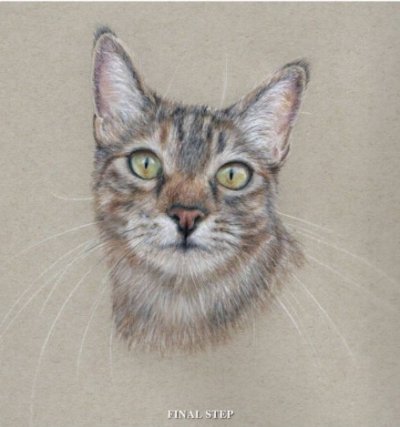
STEP ONE
Start with your reference image. For accuracy and for a perfectly proportioned drawing you can use the grid method. I overlay a grid onto my image in Photoshop and then using a ruler and a B pencil, draw up a grid with the same dimensions on my blank paper.

STEP ONE
I chose a sheet of Art Spectrum Colorfix as the ground. It has an excellent tooth for pastel. I broadly sketched in the birds with chunky pastel. I placed the birds centrally, the male overlaying the female to perch on an old branch above typical forest vegetation.
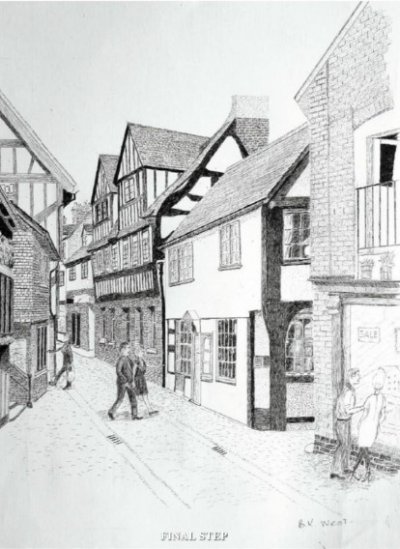
STEP ONE
Whether I am working from a sketch made at the scene or from a photograph I always square up the page using 4, 5 or 6cm squares, depending on detailing shapes of buildings for accuracy, and in this instance I used 5cm squares. The sketch was slightly smaller and that I had also covered with squaredtracing paper. Using a pencil I prepared an accurate outline of the picture.