STEP ONE
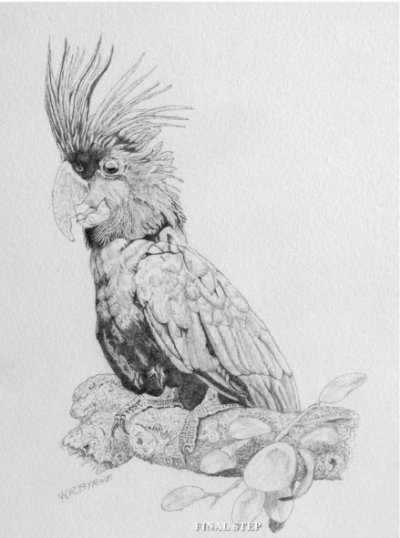
Being right handed I mark reference points from my profile lines (top and left hand side) to tips and base of crest feathers, beak and eye. Very lightly I sketch in shapes, making sure that I allow plenty of space for tight spots.

STEP ONE
Being right handed I mark reference points from my profile lines (top and left hand side) to tips and base of crest feathers, beak and eye. Very lightly I sketch in shapes, making sure that I allow plenty of space for tight spots.
STEP ONE
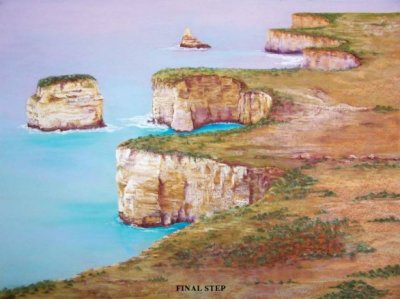
I chose a fairly simple landscape for beginner pastelists, using a sheet of Mi-Teintes “Tex’ textured paper (sandpaper finish). As the actual shade of the paper plays a significant part in pastel work
STEP ONE
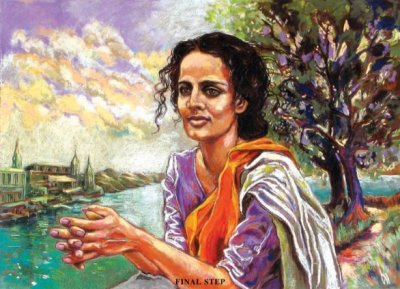
On the smooth side of the pastel paper I use an off white pastel pencil to sketch the bare outlines of the figure, the river bank and the tree. Precise drawing at this stage isn’t necessary; it’s the composition that is important. The pastel pencil line is easily removed with a soft rag if I want to change anything. Four different photographs are used for reference for this picture.
STEP 1
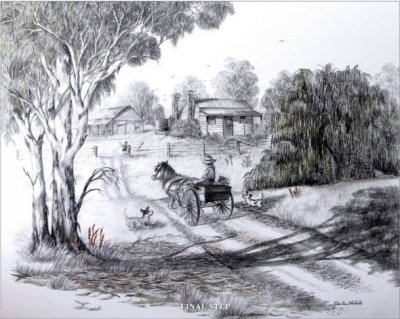
Starting at the background and using an HB grey lead pencil I sketch in the key elements in this picture then using a 3B Graphite pencil set about adding the details.
STEP ONE
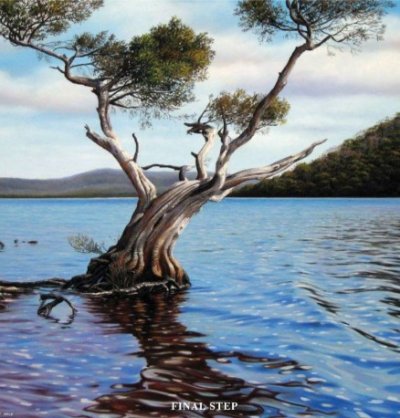
The first stage is to plan the format and composition of my artwork. In this case I have chosen a square format – a square is a solid shape with a natural sense of balance and it seems appropriate for this particular subject.
STEP ONE
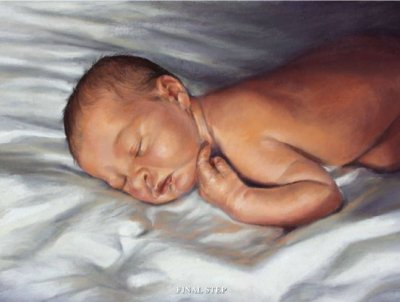
I work from reference images I’ve photographed either printed as photos or on my computer. I draw the image on white paper, and transfer it on to my final paper with tracing paper. I use white pastel pencil on the underside and trace the image with a graphite pencil.
STEP ONE
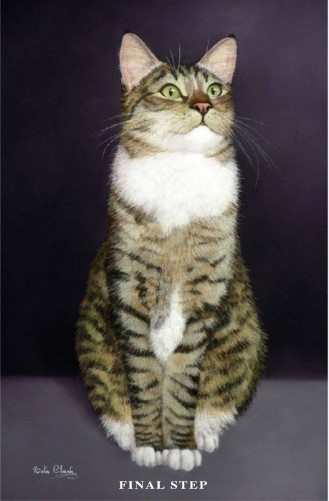
I define a clear border to contain the end result and leave reasonable space all around to facilitate handling. This space includes an area to “test blend’ colours. I use charcoal pencils and a brown pastel pencil to formulate the major shapes, before adding a light pink around the ears.

STEP ONE
This is essentially the ‘block in’ stage where I map out roughly the position of the nose, mouth and eyes. I usually start with the contour of the head and the strokes are usually a lot lighter than in this demonstration. I try to keep things light and move things around until I get a feel for the face.
STEP ONE
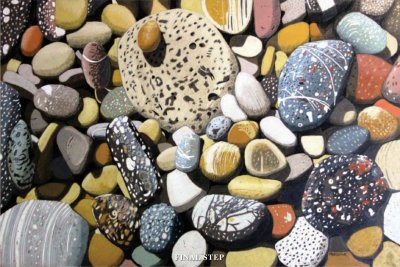
For this drawing I used a 40 x 30 cm piece of Canson pastel board (colour 502); and Havane Clair, Prismacolor, Verithin and Polychromos coloured pencils (these are my preferred pencils as they are of the highest quality and they blend together easily).

STEP ONE
I’m using a board manufactured by Ampersand, pre-cut to 11″ x 14” and I’m working from one of my own references from Etosha National Park in Namibia. Zebras come to this waterhole in large numbers and give the artist some great opportunities. I plan to literally fill the board with zebras and have titled this piece “Wall of Stripes”.