STEP ONE
Firstly, choose a suitable image. Make a line drawing of it, use moderate pressure and transfer the line drawing onto the scratchboard using the white graphite paper and stylus or biro.

STEP ONE
Firstly, choose a suitable image. Make a line drawing of it, use moderate pressure and transfer the line drawing onto the scratchboard using the white graphite paper and stylus or biro.
STEP ONE
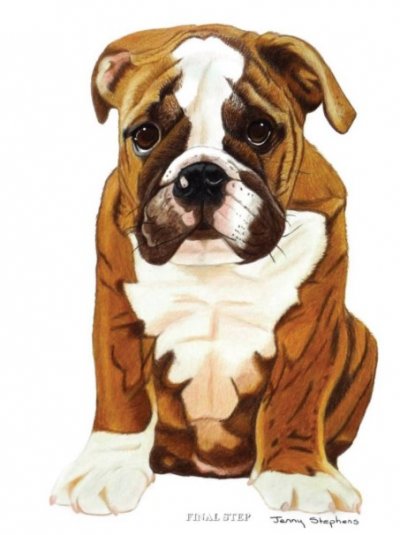
I start by outlining the image I want to do. Velour isn’t very forgiving if you make a mistake, so you will need to be careful. Consider drawing your image first and then using something like carbon paper to transfer.
STEP ONE
Having roughly sketched up and placed all of my key elements I transferred my drawing to my sheet of 310g-illustration board.

STEP ONE
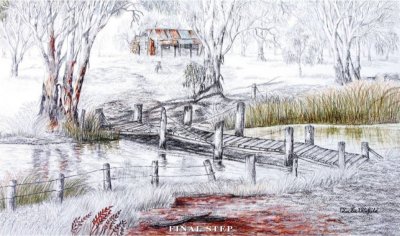
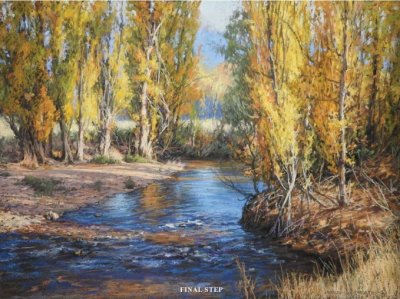
The scene depicted here does not exist. My inspiration came from a side view of a recently renovated Cape Cod cottage.
STEP ONE
Using a large steel ruler, draw a grid with the 21 graphite pencil on both photocopied reference and your working surface. Always number the squares so you don’t lose track of your position.
STEP ONE
First draw a grid over the photo reference. Usually I do this at 2cm squares, but it really depends on the size of the piece. (I use Photoshop and place a readymade grid onto my reference.)
STEP ONE
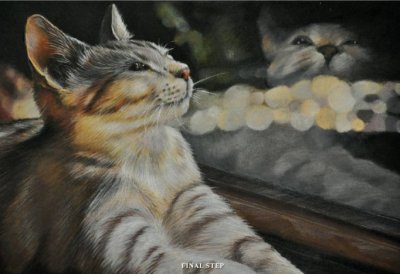
On Black Stonehenge paper, I lightly drew in some basic lines, scumbling in a few colours here and there to establish the composition and placement of the larger masses of my subject.
STEP ONE
If you are not confident drawing freehand you may wish to use a grid pencilled in on an A4 photocopy of your picture. Using a grid will not put indentations in your paper like tracing will.
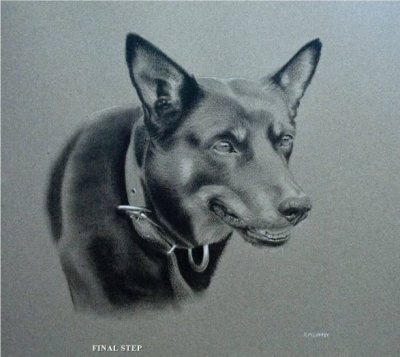
TEP ONE
For this drawing, I am using a Clairefontaine pastel mat in Dark Grey. It has a slight sanded texture to it, but it doesn’t chew your pencils up like some pastel mats can. Place your drawing on the pastel mat paper using a light colour. When using Black I use a light hand and a pastel pencil, as I can easily rub my lines out as I go.