STEP ONE
Being right handed I mark reference points from my profile lines (top and left hand side) to tips and base of crest feathers, beak and eye. Very lightly I sketch in shapes, making sure that I allow plenty of space for tight spots.
STEP ONE
Being right handed I mark reference points from my profile lines (top and left hand side) to tips and base of crest feathers, beak and eye. Very lightly I sketch in shapes, making sure that I allow plenty of space for tight spots.
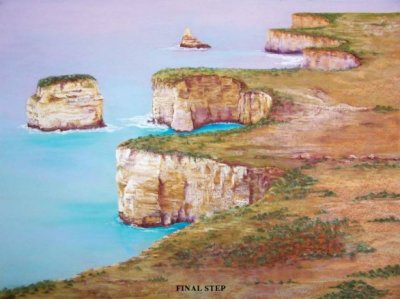
STEP ONE
I chose a fairly simple landscape for beginner pastelists, using a sheet of Mi-Teintes “Tex’ textured paper (sandpaper finish). As the actual shade of the paper plays a significant part in pastel work
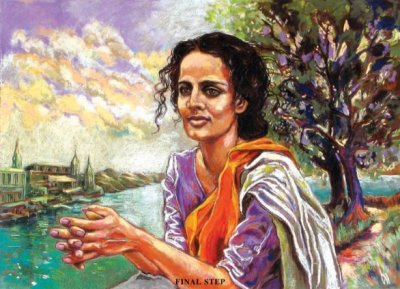
STEP ONE
On the smooth side of the pastel paper I use an off white pastel pencil to sketch the bare outlines of the figure, the river bank and the tree. Precise drawing at this stage isn’t necessary; it’s the composition that is important. The pastel pencil line is easily removed with a soft rag if I want to change anything. Four different photographs are used for reference for this picture.
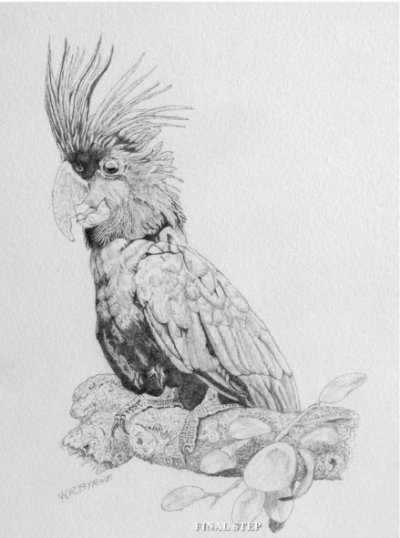
STEP 1
Starting at the background and using an HB grey lead pencil I sketch in the key elements in this picture then using a 3B Graphite pencil set about adding the details.
STEP ONE
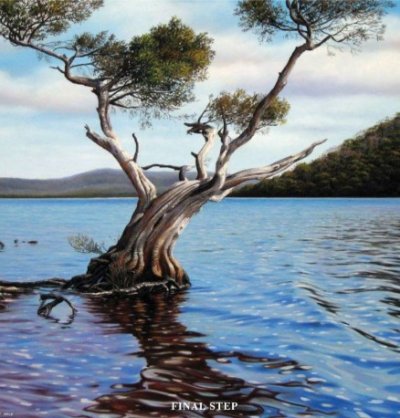
The first stage is to plan the format and composition of my artwork. In this case I have chosen a square format – a square is a solid shape with a natural sense of balance and it seems appropriate for this particular subject.

STEP ONE
Prepare your surface. My surface is firstly primed with Colourfix primer which allows the pencil to really grip onto the surface – it’s a bit like working on Colourfix pastel paper.

STEP ONE
I work from reference images I’ve photographed either printed as photos or on my computer. I draw the image on white paper, and transfer it on to my final paper with tracing paper. I use white pastel pencil on the underside and trace the image with a graphite pencil.
STEP ONE
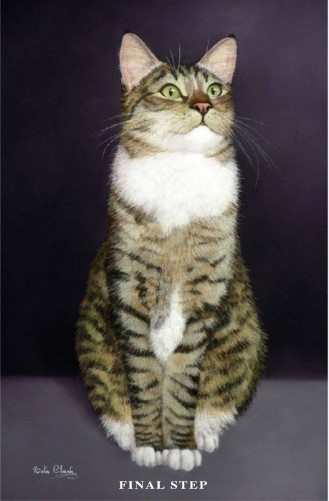
I define a clear border to contain the end result and leave reasonable space all around to facilitate handling. This space includes an area to “test blend’ colours. I use charcoal pencils and a brown pastel pencil to formulate the major shapes, before adding a light pink around the ears.

STEP ONE
This is essentially the ‘block in’ stage where I map out roughly the position of the nose, mouth and eyes. I usually start with the contour of the head and the strokes are usually a lot lighter than in this demonstration. I try to keep things light and move things around until I get a feel for the face.
STEP ONE
For this drawing I used a 40 x 30 cm piece of Canson pastel board (colour 502); and Havane Clair, Prismacolor, Verithin and Polychromos coloured pencils (these are my preferred pencils as they are of the highest quality and they blend together easily).