I started with a rough sketch of the composition. My initial sketch is usually quite rough, but expressive. I use it to work out the lines of action and flow of the eye.


I started with a rough sketch of the composition. My initial sketch is usually quite rough, but expressive. I use it to work out the lines of action and flow of the eye.
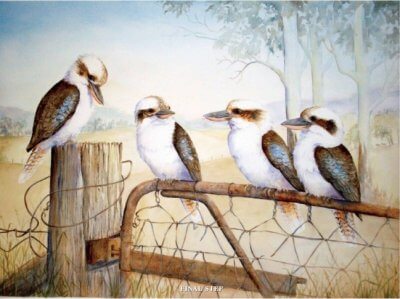
I usually enlarge my original drawing on my photocopier to the correct size, ready to be transferred onto the 78 x 54 cm stretched piece of 300gsm Arches watercolour paper.

After deciding on size and format, I drew the foreground objects to size with as much detail as possible before transferring them onto my prepared board.
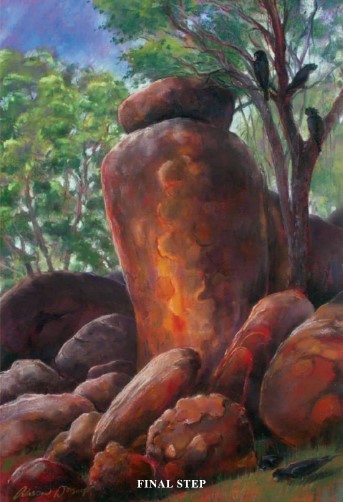
I keep my ‘outdoor’ set in a cheap plastic fisherman’s box – the kind with compartments used to keep hooks and lures. I pack the pastels in with cotton wool or rice, so the rougher the journey, the cleaner they get.
STEP ONE
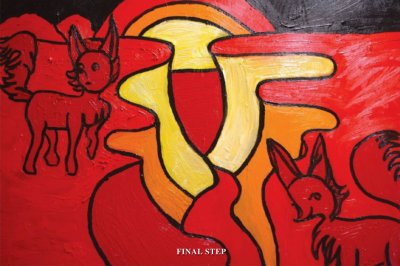
Before I even contemplate creating a composition I always make sure there are several layers of paint on my canvas. Just starting on a new, white canvas can be overwhelming.
STEP ONE
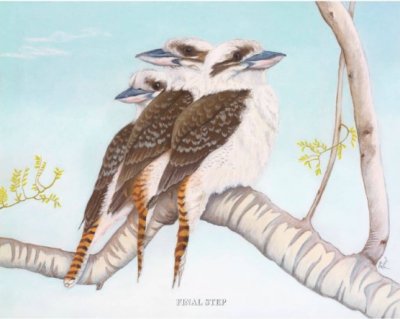
Firstly I applied a very pale blue soft pastel (gently rubbed in with my finger) to the background immediately around the birds and the very small foliage.

STEP ONE
Setting up the composition
I draw a border around the page, so that I don’t stray too close to the edge, remembering the picture will be framed. I then set my guide marks,
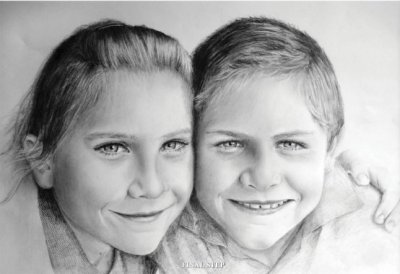
STEP ONE
Firstly, I softly rule up a grid and outline the features, then remove grid lines and use a divider to check measurements and a ruler to check angles against the reference photo.
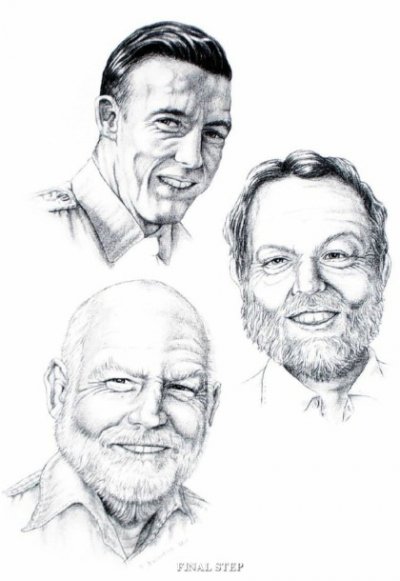
STEP ONE
After selecting the best photos to work with and that would work well together, I drew up a very rough layout to get the balance right.
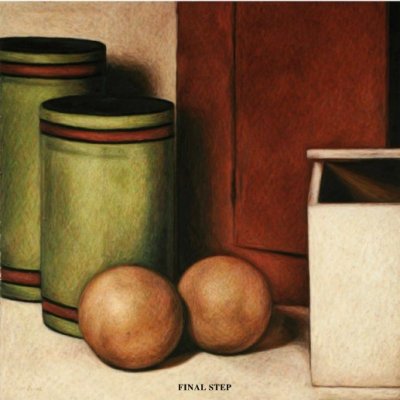
STEP ONE
I began by drawing up the composition. Having established a composition (using Adobe Photoshop to manipulate photographs), I then sketched a basic outline using a broad grid.