Having stretched your watercolour paper and allowed it to become bone dry, commence drawing the image onto cartridge paper

Having stretched your watercolour paper and allowed it to become bone dry, commence drawing the image onto cartridge paper
I like to mount my own canvas. I cut a piece of board to a selected size and then cut prepared canvas about a centimetre larger than the board all around.
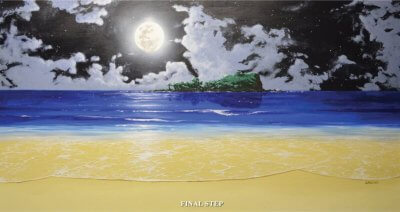
For this art piece I began with a drawing, refined it, and then placed it into my Artograph projector. I then used the projector for quickly and easily getting my small drawing enlarged onto my 1200 x 600 canvas.
STEP ONE
Using a charcoal stick, I drew a couple of rough “thumbnails’ to familiarise myself with my subject (and to try for an interesting composition).

I search for an interesting subject in my garden. The little Superb Blue Wrens are very busy – so I include the male blue wren in my composition and (for interest) add my teacup.
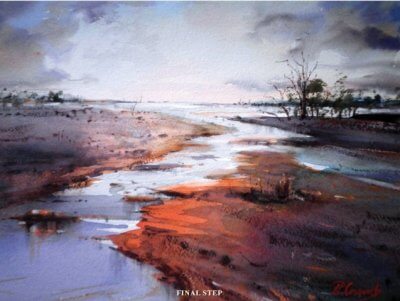
STEP ONE
I draw the basic shapes onto the stretched paper.

I sketch out my composition, taking care to get a composition that I am happy with. It is important to get the scale right and key elements before you proceed to paint.
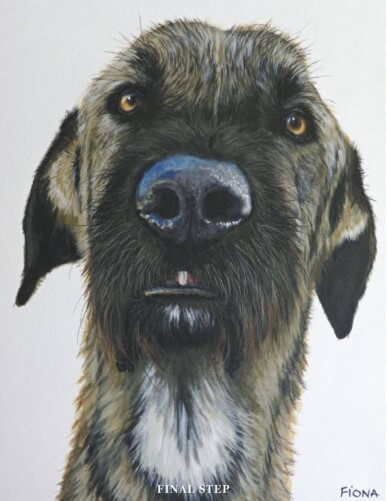
Prepare the canvas by applying two coats of primer. Make sure the first coat is thoroughly dry before applying the final coat. Transfer your image to the canvas using graphite paper, making sure the dog is placed within the canvas area.
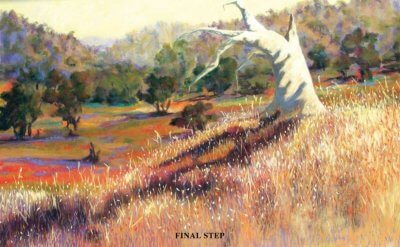
These sun bleached trees with their twisted shapes are irresistible to me, whilst some people find them spooky, if you look at them from a different point of view you will see the elegant shapes and gestures in their bare branches.
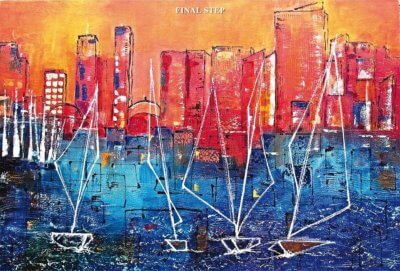
STEP ONE
Prime the canvas support with vigorous strokes of gesso, leaving textural lines. Cross-hatch brush marks. Allow this to dry thoroughly.