STEP ONE
I always start with a 2B pencil, making sure to draw lightly this provides me a margin of error which allows me to revise as the drawing develops.


STEP ONE
I always start with a 2B pencil, making sure to draw lightly this provides me a margin of error which allows me to revise as the drawing develops.

STEP ONE
Scale up your drawing or image onto the tracing paper using a grid method you are comfortable with.Position the tracing over the pastel paper.
STEP ONE
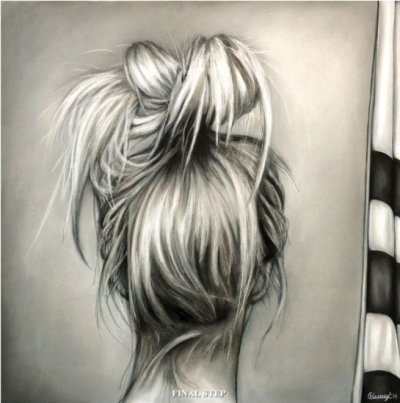
Sketch – roughly sketch the general outline and proportions of the piece using the black pastel
STEP ONE
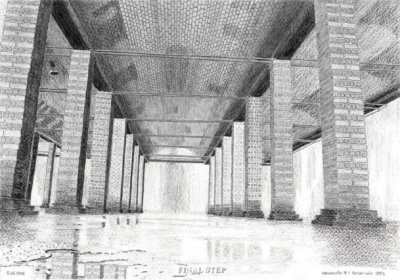
The detail contained in the reference photo required the page to be squaredup with a 4cm grid. I was then able to accurately establish the basic composition of the sketch,

STEP ONE
Using your finished drawing (or photo), make a tracing of the outline. Tape the traced line drawing to the top of the scratchboard.
STEP ONE
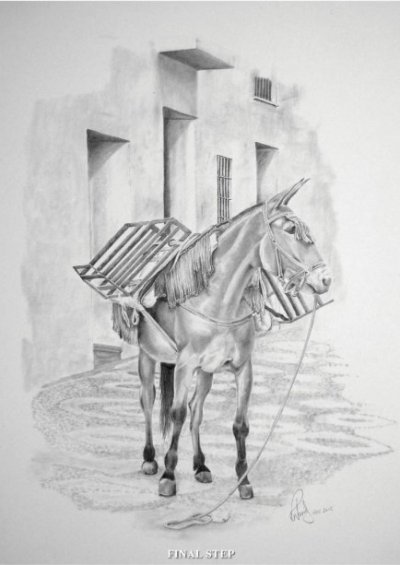
I always work from A4 photos, so once I have chosen the photo I want, I usually print about four copies in black and white and one in colour.

STEP ONE
I make a very light, and I do mean very light, outline of where the main or central image is going to be placed on my board, pencilled in using White 101.
STEP ONE
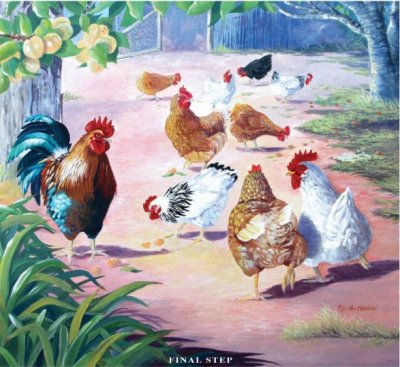
On my 51cm x 61cm canvas I sketched up my design using an H grey lead pencil. Although we didn’t have a rooster I decided to put this fellow in to add extra interest to the whole picture.

STEP ONE
Firstly, choose a suitable image. Make a line drawing of it, use moderate pressure and transfer the line drawing onto the scratchboard using the white graphite paper and stylus or biro.
STEP ONE
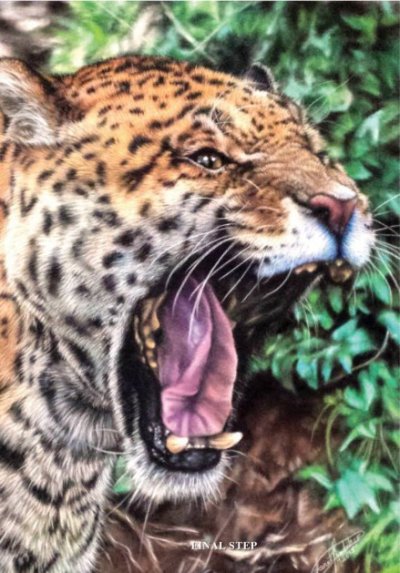
I start by outlining the image I want to do. Velour isn’t very forgiving if you make a mistake, so you will need to be careful. Consider drawing your image first and then using something like carbon paper to transfer.